When you have a lot of ideas in your mind, you may create a text document or take a sheet of paper and start writing in a linear fashion. However, this type of document quickly becomes overwhelming. It lacks clarity and makes it hard for you to get a full picture at a glance and see what is missing.
Instead, try looking at some mind map examples to learn how to mind map and visualize your thoughts.
Mind maps can help you zoom out and see the whole hierarchy and how everything is connected. It is an easy-to-learn technique that will help you see the connections that you were missing before and help you find new brainstorming solutions.
Mind maps can be created for almost any purpose, from planning ideas for a project at work to brainstorming a new marketing campaign.
Below, you'll find more information on mind maps and see some mind map examples to inspire you next time you need to organize information.
What Is a Mind Map? (With Mindmap Examples)
Before you find out different mind map examples, you should first know what a mind map is.A mind map is a simple hierarchical radial diagram invented by Tony Buzan[1]. In other words, you organize your thoughts around a central idea.
The power of a mind to map can be felt whenever you need to declutter your brain or develop an idea, a project (for example, a new product or service), a problem, a solution, etc. By capturing what you have in your head, you make space for other thoughts.
The objective of a mind map is to clearly visualize all your thoughts and ideas. It helps us follow the natural thought process.
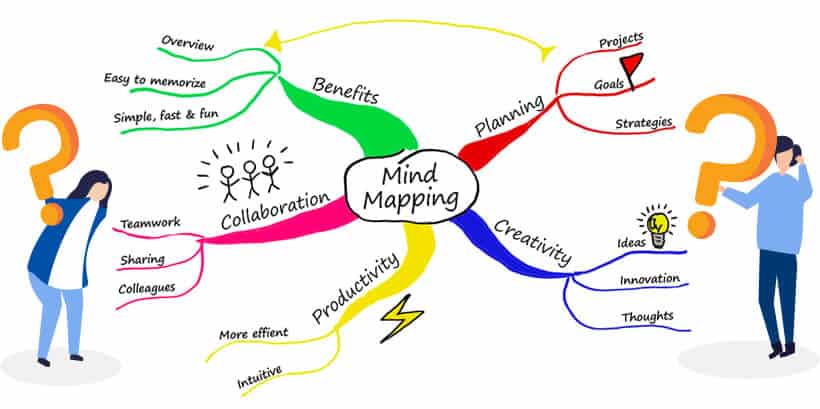 Image Credit: Mindmapping.com
One of the main strengths of a mind map is that it's very easy to find every individual piece of information. All you have to do is follow certain branches.
Adding more information is also very easy. You can create new branches or new leaves in any part of the existing structure.
Don't complicate a mind map with too many colors or distractions. Use different colors only when they serve a purpose. Always keep a mind map simple and easy to follow.
Mind Map Examples to Illustrate Mind Mapping
You can go about creating a mind map in various ways:- Branch by Branch: Adding whole branches (with all of their sub-branches), one by one.
- Level by Level: Adding elements to the map, one level at a time. That means that firstly, you add elements around the central topic (main branches). Then, you add sub-branches to those main branches.
- Free-flow: Adding elements to your mind map as they come to you, in no particular order.
Branch by Branch
Start with the central topic, and add the first branch. Focus on that branch and detail it as much as you can by adding all the sub-branches that you can think of. Then develop ideas branch by branch.
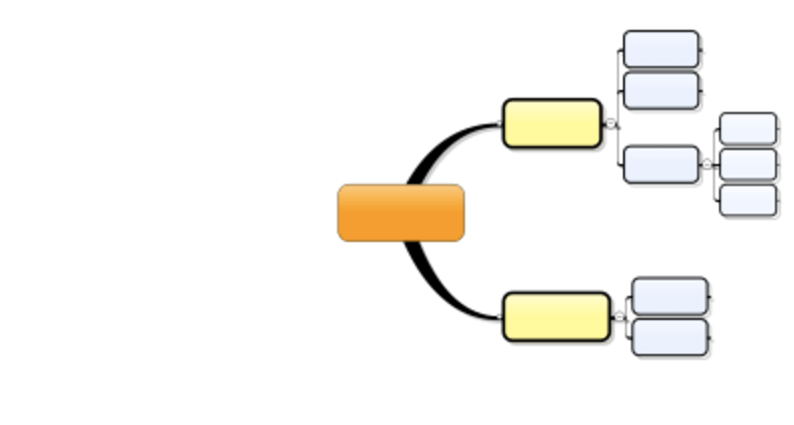 Once your ideas have filled the branches, the mind map is complete.
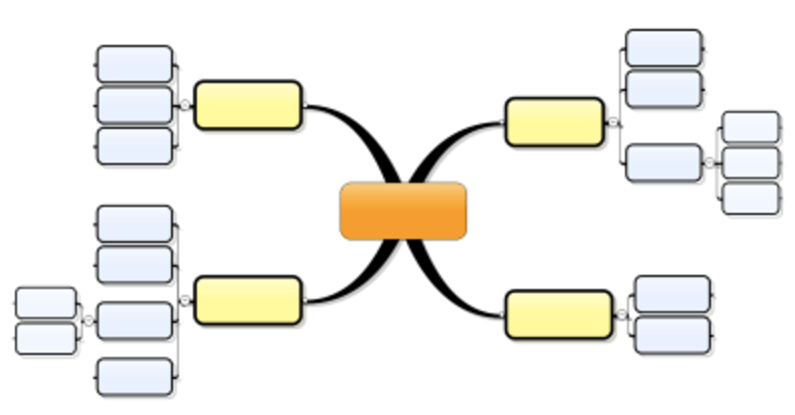
Level by Level
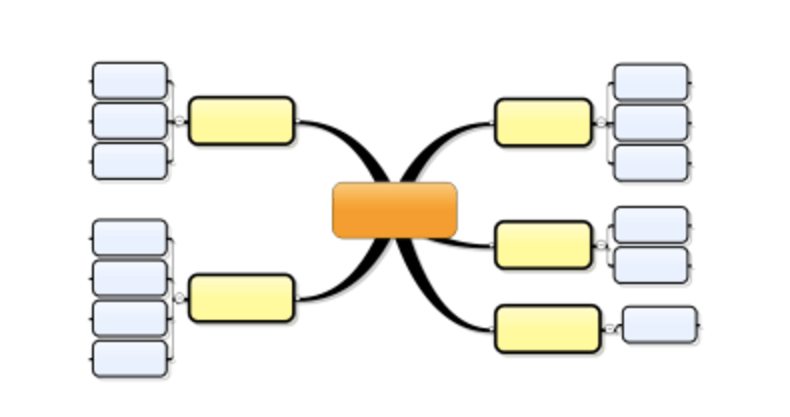
In this “Level by Level” strategy of mind map examples, you first add all the elements that you can think of around the central topic, one level deep only. Here, you add elements on level 1: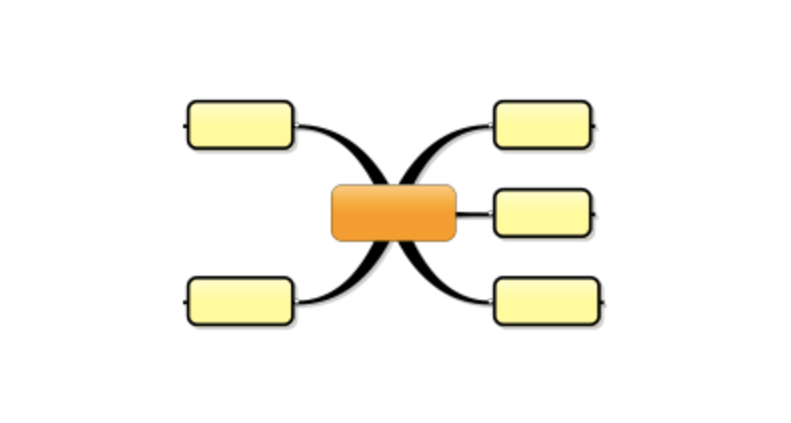 Then, go over each branch and add the immediate sub-branches. This is level 2:
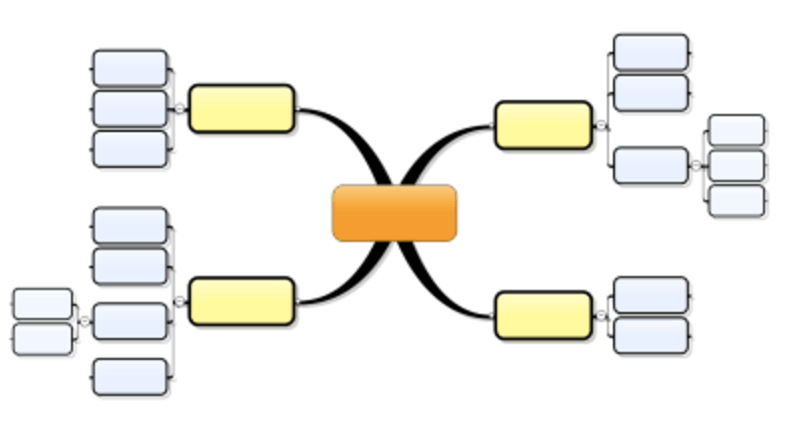
 Do the same for the next level (level 3). You can have as many levels as you want in a mind map. In our example, we only have 3 levels. Now the map is complete:
Free-flow
Basically, a free-flow strategy of mind mapping is to add main branches and sub-topics freely. There are no rules to restrict how ideas should flow in the mind map. The only thing to pay attention to is that you need to be careful about the level of the ideas you're adding to the mind map — is it the main topic, or is it a subtopic?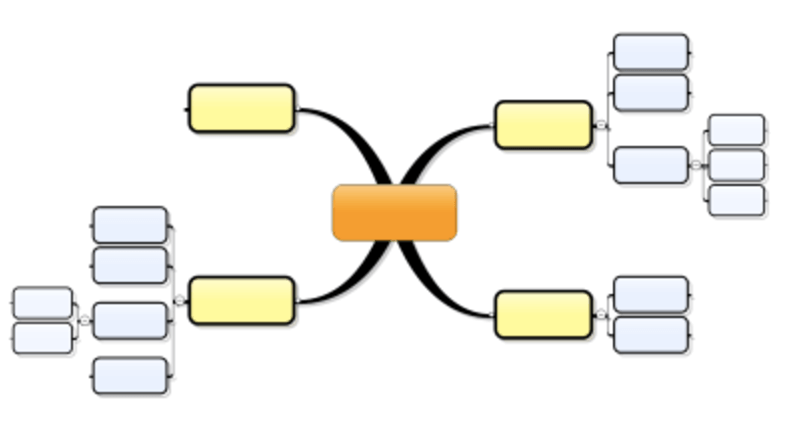 Try each strategy and combination of strategies, and see what works best for you to help you start problem-solving.
Benefits of Mind Mapping
Now you know what mind mapping is and are probably convinced that it is an excellent approach to learning. But what is in it for you to use this method?Well, the benefits of mind mapping are tremendous. Here’s a quick rundown:
Easy Organization
Right off the bat, there is no better way to organize information than with a mind map. No matter how confused you feel, a mind map will put everything in its right place.Organized information is easier to remember. The visual representation of every connection imprints on your mind.
No matter how stressed you are, once you begin to organize all the ideas in a mind map, everything starts to make sense. Once that happens, there’s nothing left to worry about!
Brainstorming
Mind maps are a process. From one keyword to the other, from one image to the next, the connections trigger the brain to bring other related links to the surface, too.This technique will help you brainstorm like no other.
Mind mapping is a very engaging learning process. Therefore, the brain is fully involved and focused. This encourages new ideas and concepts so that the learning process goes beyond the information at hand.
The magic in mind mapping is that all sorts of complex information also seem easy to understand. With brainstorming, these ideas are further built upon.
Here’s an example to give you a clearer picture:
You’re learning a foreign language. In your mind map, you can link the foreign words with images or keywords of the language you know. Within this map, you can brainstorm to figure out certain common elements that will help you remember the foreign words easily.
These elements may be prefixes or suffixes. Or, there may be a specific trick that you can put your finger on once all similar words are linked up. While it is extremely easy to do in a mind map, it is almost impossible to identify these things in other learning methods.
The bottom line is that with mind mapping, the learning process becomes a continuous cycle of learning progress.
Guaranteed Results
As mentioned previously, mind mapping is the implementation of the process of the way that the brain actually works. Using the creation of links like that in a map, the brain can remember knowledge for the long-term.Since mind mapping supports this mental process, there is no chance that you won’t successfully learn what you want to.
Basically, you will understand and remember whatever you want. There is literally nothing in the world that you won’t be able to excel at once you become a master of mind mapping!
Saving Time
This method is not time-saving in the sense that you’re probably thinking of. Creating a mind map, organizing all the information, and then fitting in new ideas may take up a decent chunk of your time.However, since the learning is guaranteed in one go, you won’t have to spend time on the same theme again and again.
3 Simple Steps to Create a Mind Map
The three steps are:- Set a central topic
- Add branches of related ideas
- Add sub-branches for more relevant ideas
Step 1: Set a Central Topic
Take a blank sheet of paper and write down the topic you've been thinking about, whether it be a problem, a decision to make, an idea to develop, or a project to clarify.Word it clearly and concisely. It can be a single word or even a central image.
Step 2: Add Branches of Related Ideas
What is the first idea that comes to mind when you think of the subject for your mind map? Draw a line (straight or curved) from the central topic, and write down that idea.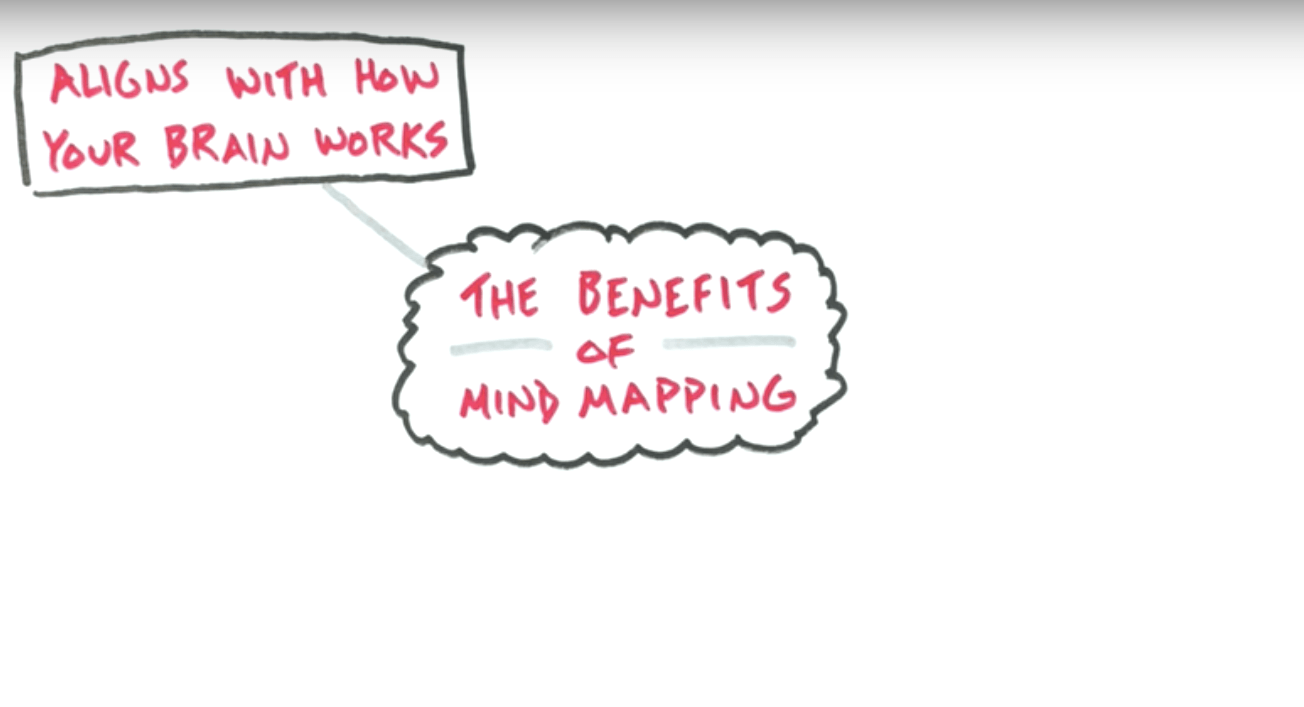
Step 3: Add Sub-Branches for More Relevant Ideas
Then, what does that idea make you think of? What is it related to it? List it out nearby by connecting it with shorter lines or a line of a different color. Ensure that it remains organized.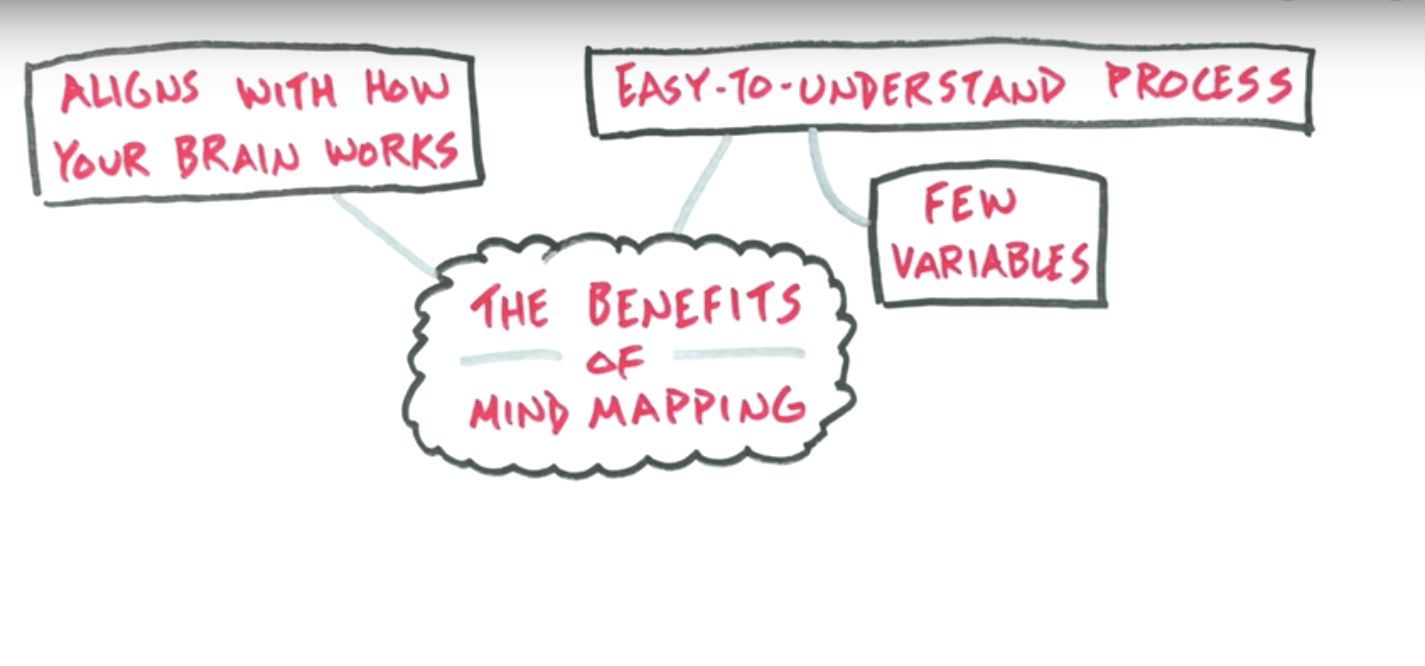 You can always add images or other branches later, but that’s good for now.
In our example, we could detail the sub-branch “Benefits” by listing those benefits in sub-branches of the branch. Unfortunately, we have already reached the side of the sheet, so we’re out of space to do so. You could always draw a line to a white space on the page and list them there.
Since we created this mind map on a regular letter-format sheet of paper, the quantity of information that fits in there is very limited. That is one of the main reasons why I also recommend using a mind mapping software.
Repeat Step 2 and Step 3
Repeat steps 2 and 3 as many times as you need to flush out all of your ideas around the topic that you chose.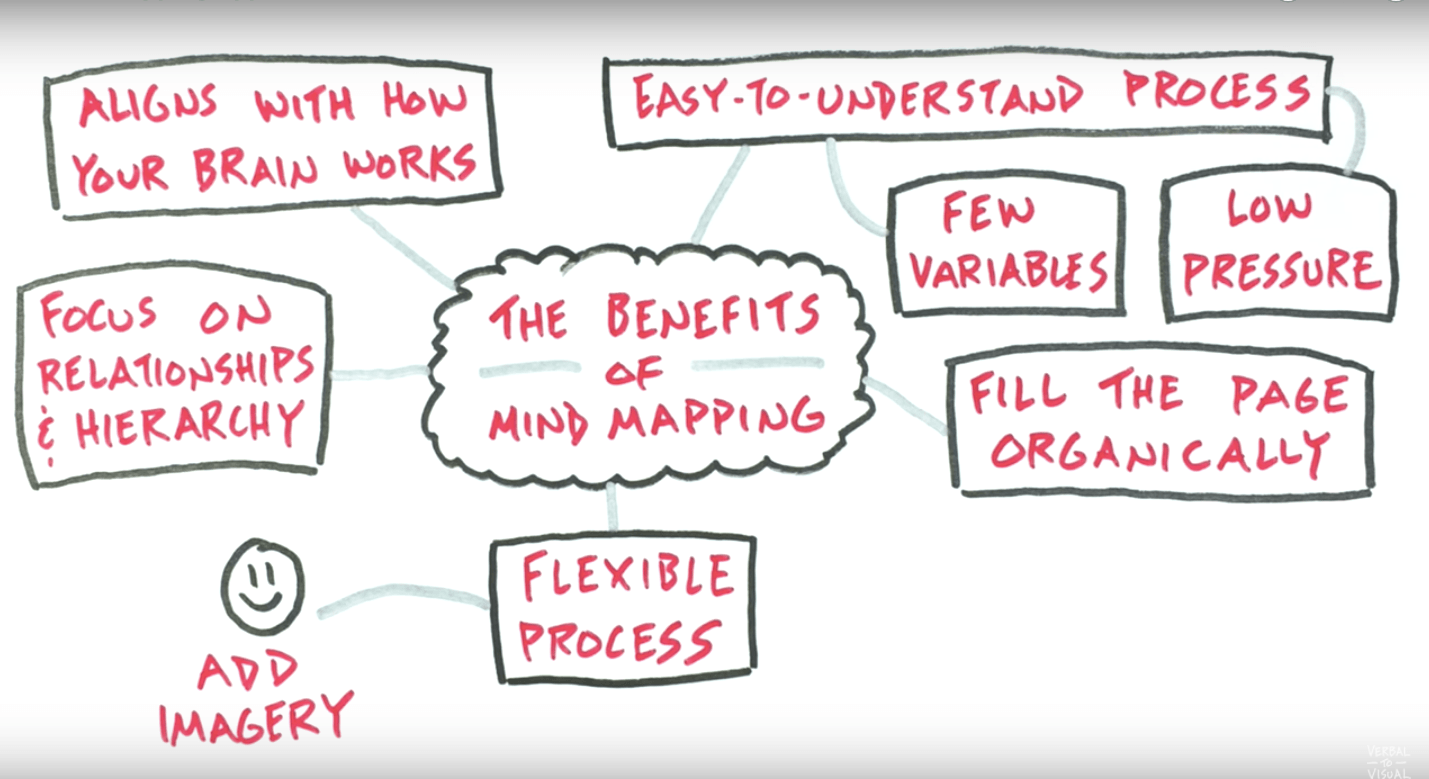 I added first-level (main) branches around the central topic mostly in a clockwise fashion, from top-right to top-left. That is how, by convention, a mind map is read.
In the next section, we are covering the three strategies to help you build your maps.
Using Mind Maps
Using mind maps for work is probably the most straightforward and easy to grasp application of mind mapping. Our work is usually a very structured activity all in itself, so introducing some more organization is a very intuitive process.Some of the common elements of mind maps for work:
- To-do lists of tasks.
- Task archives (completed tasks).
- Projects (a breakdown of individual parts of a given project).
- Brainstorming session log.
- Plans and action blueprints.
- "Waiting for" log (a list of things you're waiting for to receive from other people).
- Resource lists (for instance, a list of "8 link building techniques for my site").
- Content organization (your article/post headline ideas).
- Layouts for individual blog posts if you're an active blogger, and many more.
If you want to kick it up a notch, you can also use mind mapping for your personal life. For example, here's a quick set of things I like to keep in my mind map:
- A list of personal projects to do (like, "learn how to cook a steak").
- My workout log.
- My dieting log.
- My books-to-get list.
Using a Mindmap as a Task List
The whole process of building the map and the operation is described in this video:https://www.youtube.com/watch?v=Xso5MhKD5rg
As you can see, the rules are simple and very intuitive, and using a mind map as a task list has some advantages over traditional techniques, as follows:
It's Visual.
Your task list is no longer just a flat list with some text -- some people hate task lists because of that. By using a mind map, you can preserve the hierarchy and priorities of the tasks, nest them and reorganize easily. You can also apply different fonts and colors, or make hyperlinks. It's your list, so you can organize it your own way.It Involves Emotions.
With just one look your mind map can show you where you are. You can see it and you can feel it. Sometimes you can see that one of the projects is overloaded, that you have far too many delegated tasks, or there is one task that has been there since forever because the goal was not clear. With each completed task you can see your progress by simply noting how the "Done" section grows. It is great to look at it at the end of your week and be proud of that!It Tracks Delegated Tasks.
I can often see that many people struggle because their task lists do not have the ability to track the task that was delegated to someone else. It is either marked as "Done" (I've done my part) or stays there, calling for action and making the picture blurry. Dedicated section for delegated tasks solves the problem and also keeps the list visual.It Tracks the Progress.
Because there is a separate section for already completed tasks, you can see how this grows and feel good about it. With just one look you can see where you are and how much you have already accomplished this week, and it is much easier to write reports or summarize your work. These small achievements are your small victories.It Calls for Retrospectives.
After one week, the "Done" section is probably quite large and this is the moment to clean it up. Of course you can simply delete the tasks that were completed from the mind map, but you could also spend half an hour, or even just few minutes, and reflect on them. Which gave you the most satisfaction? Which drained energy from you? What could you do better next week?When you are done, delete them, but it will give you the feeling of a small victory. Many people are really surprised when they see that list at the end of the week!
It Can Be Personalized.
Another great thing is that you can apply your own format to it. You may change fonts, apply different colors or add images to different projects. You may add icons to some tasks, for example when you think there is some risk associated with it. The mind map is all yours, when you think something can be done your own way, just do it!8 Free Mind Mapping Applications & Web Services
Knowing both the pros and cons of mind mapping is crucial. While mind maps can be immensely helpful, it can also be tiring to create one from scratch.Here are some of the mind mapping applications and web services you can take advantage of.
1. FreeMind
This is one of the most popular free mind mapping applications out there, and that’s mainly because it’s in Java and thus cross-platform (and because it’s a great app, of course). This software implements some of the major features that digital task lists have over paper task lists: retractable and expandable branches and hyperlinking between different branches make it easier to organize and easier to connect ideas.2. bubbl.us
This is a free web-based mind mapping application. You can sign up for an account in order to save your mind maps, but better still, they don’t force you to get an account to start creating. The interface could use some work to make it a truly usable application.3. MindMeister
This is another web app with varying account options; there’s a free account and several commercial options. It has a fairly nice design and interfaces in comparison with many other mind mapping web apps that are available.4. RecallPlus
RecallPlus is a commercial software with a lighter free edition. It combines the process of mind mapping with flashcard memorization techniques and is aimed at students who wish to take notes and then test themselves using them. RecallPlus is a Windows application.5. Mindomo
Mindomo is another mind mapping web app with both a free account option and a commercial one. It allows you to share your mind maps with others, and also embed them into your web pages.6. Mind42
This is a totally free mind mapping web app, and it is one of my favorites. The interface is a good one, and it has some excellent features, such as easy navigation for large mind maps with zoom and birdview (and branch hiding, but that’s pretty standard these days), and the ability to attach notes and images to branches, which isn’t always allowed in “pure” mind mapping software. You can also link branches to other sites and see a preview when you roll over the link, which I think is probably the only appropriate use of those preview rollovers anywhere on the net.7. WiseMapping
WiseMapping is another web app for mind mapping which requires no browser plug-ins at all, which is fantastic when you don’t know which computers you’ll be using on a given day. You can share, export, and publish your mind maps from the app, and there is no commercial account option. Everything is free and unlimited.8. TheBrain.com
This is a cross-platform application. It’s a commercial application, but a lighter free edition is on offer. I thought the integration of a calendar with events that you can add was a particularly cool addition and meant you could brainstorm in not just the conceptual realm but cross over into the earlier stages of planning as well.The Bottom Line
When you’re feeling stuck or when you’re just starting to think about a particular idea or project, take out a paper and start to brain dump your ideas and create a mind map using the mind map examples above. Mind mapping has the magic of clearing your head and organizing your thoughts.If you can't always have access to paper and pen, don't worry! Creating a mind map with software is very effective, and you get none of the drawbacks of pen and paper. You can also apply the above steps and strategies just the same when using a mind mapping tool on a phone and computer.