It doesn’t matter if you’re taking photos for a hobby or to jump start a career, we could all use a little help. Everyone has to start somewhere and most of the time, where we start is with a simple camera. If you don’t have gear, don’t worry. You can still create some great images with the personal camera you have at home. Here are some simple tricks that can help you forever freeze a moment in time.
1. Rule of thirds
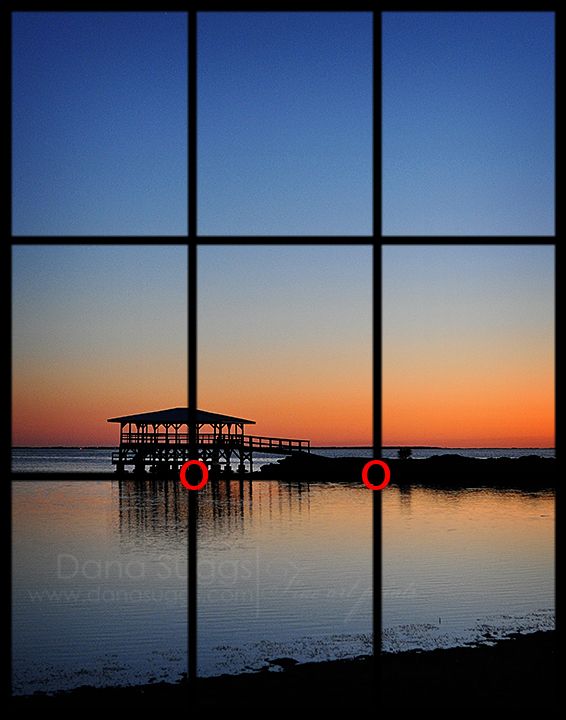
This is probably going to be in the first lesson of your first photography class in the world and your easiest. The first step is to break your image down into three parts vertically and horizontally. With a well balanced shot, the points of interest should line up directly with the intersections of the grid. This method can be used with a variety of different scenes.
2. Your background needs to be simple

The purpose of a simple background is to keep your viewer’s eye on the subject of your photo. If there isn’t a simple background available, there is another way. It is a little more technical, but you can accomplish it. You will need to understand aperture. Aperture is a hole or opening in the lens. It is measured by or in “f-stops” and if you can get the right measurement, it will affect your cameras focus. With the right measurement, the location will not matter because you can blur the background to keep it simple.
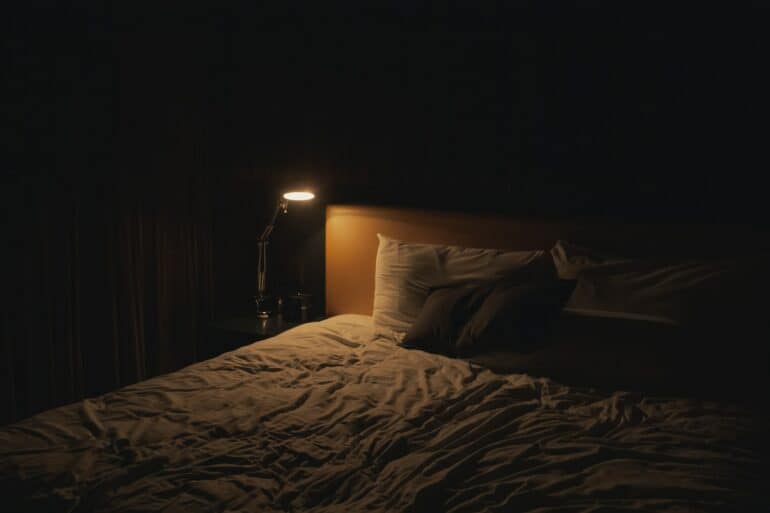
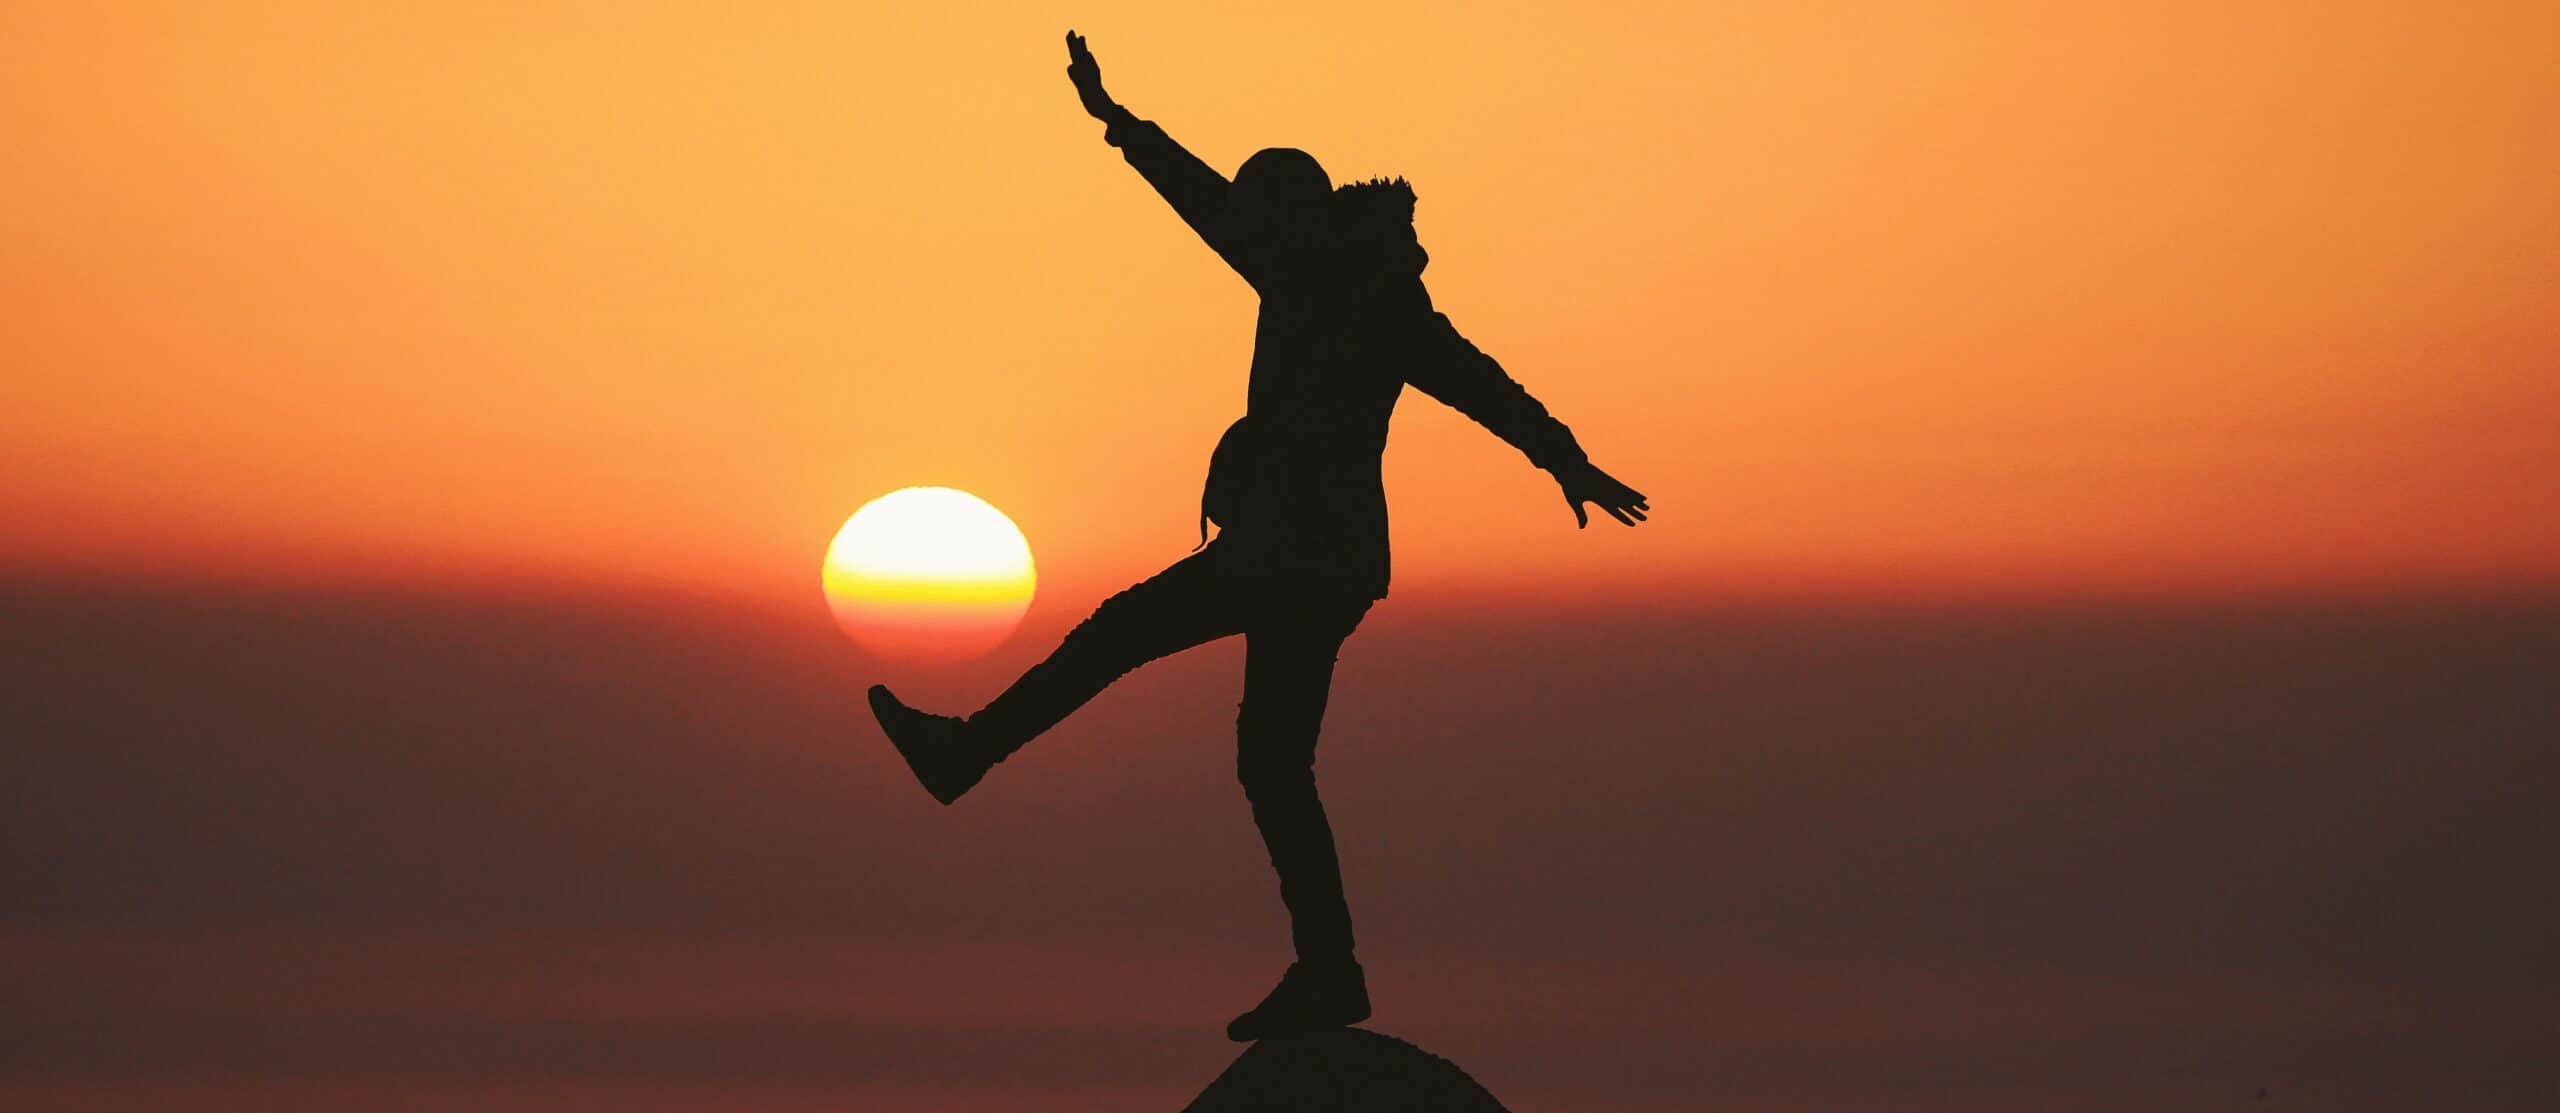
3. Natural Light
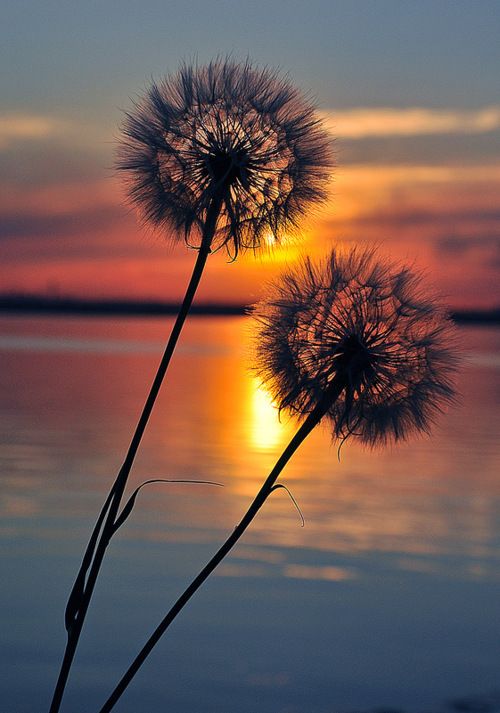
Light is an important factor when it comes to outdoor photography. It can create shadows, glares and excellent shots. It can also bring out the features like someone’s eyes, skin, and hair. For example, you can take a photo in the middle of the day of a landscape and the same photo at sunrise, and both will look different. Be aware of the light around you, it’s okay to be a “light snob”.
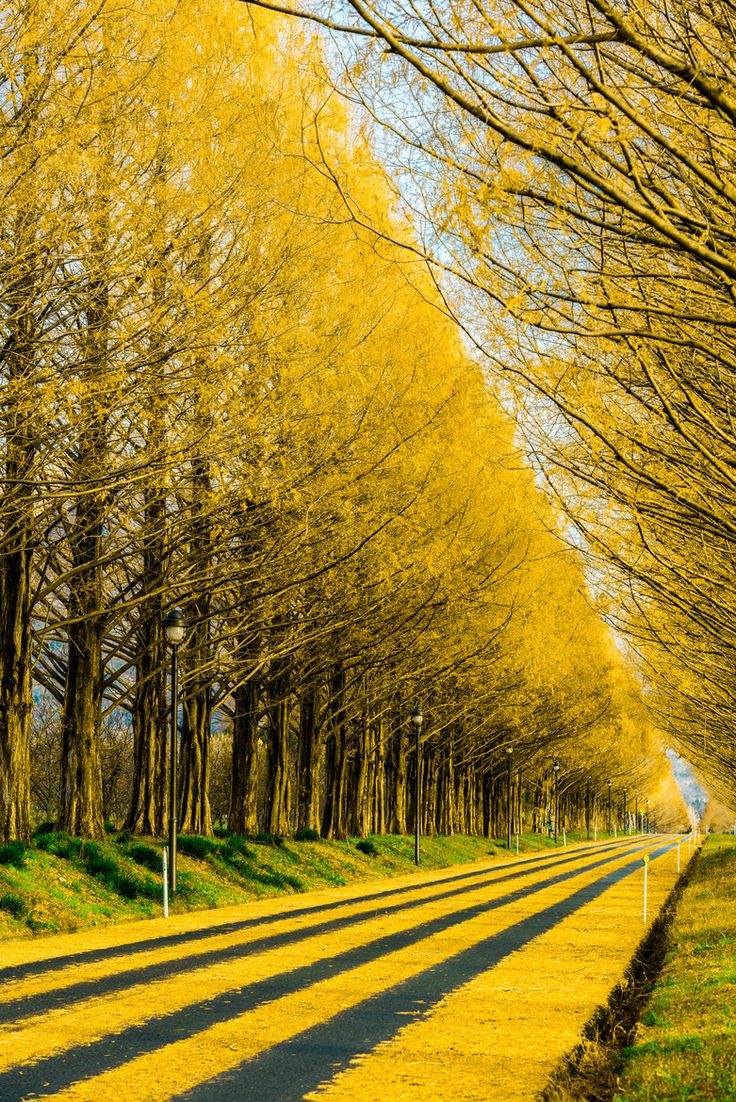
4. Leading Lines

This method will basically walk your viewers though the different parts of the photo to main focus. You can start off by using a road or a paved trail. It will be fairly easy to take these shots since our world is filled with lines, roads, and trails.
5. Natural Frames
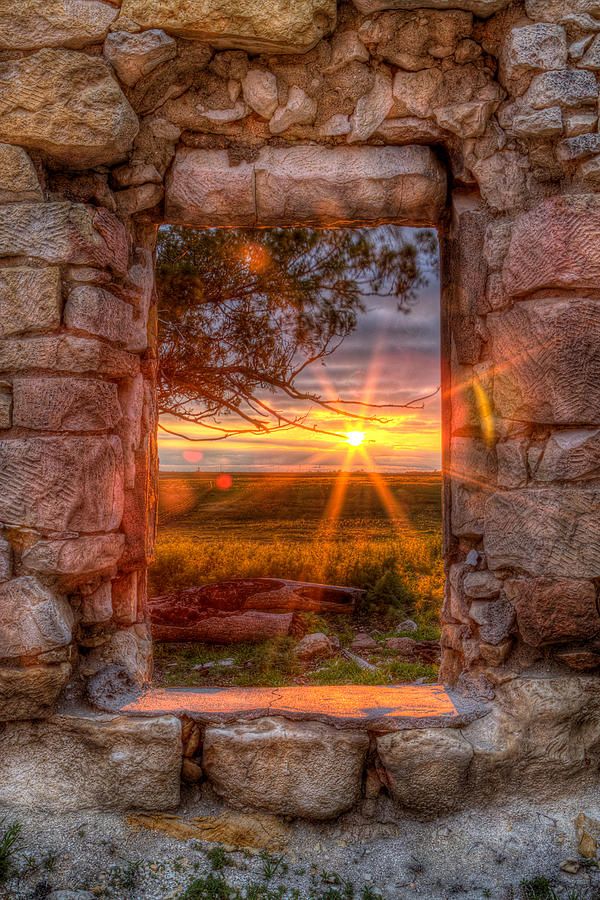
Finding natural frames for your photos is a very easy process. This is basically, finding a tree, doorway, window, or cave to frame our main focus point.
6. Take an eye level shot

Getting on eye level with the subject of your photo can create an excellent shot. It is a good way to make sure your shadow isn’t in the way.
7. Timing

You can try to take some photos on sports mode. This gives you several shots of the same photo so that way you can chose the best one. I have personally used this in candid shots and captured a perfect moment of laughter between a couple. Most people however, use this setting when capturing animals in motion or as athletes take their winning shot.
8. Center the dominant eye
This trick is to simply place the dominant eye in the center of the photograph, and snap a photo.
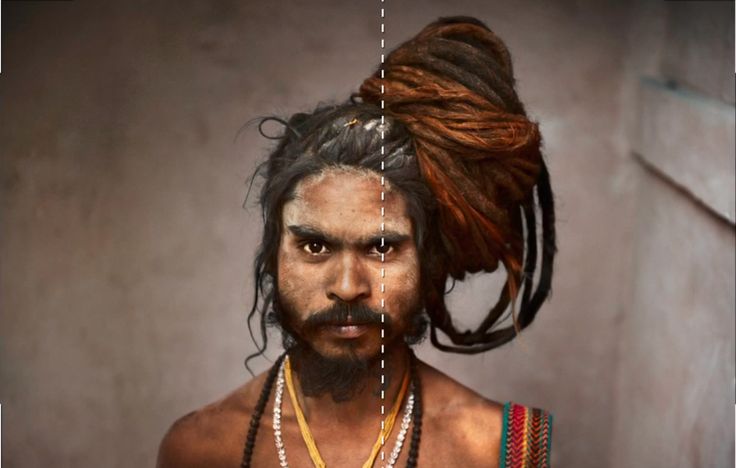
9. Symmetry
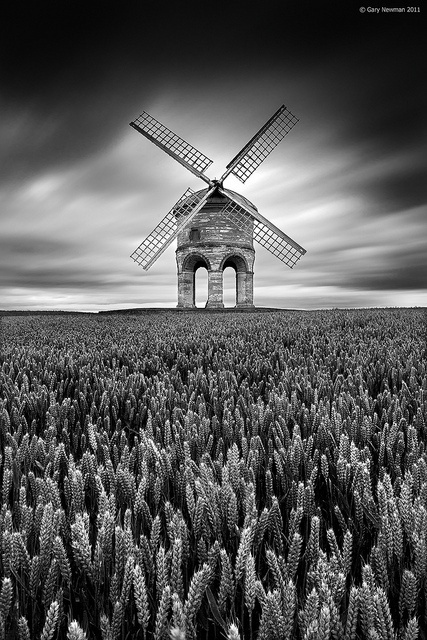
Though this is a self-explanatory hack, it is an important one. Different subjects can cause different feelings for your viewers when you use symmetry. With architecture, it gives off a sense of structure and with landscape it creates a sense of calm.
10. Fill the Frame

This is probably one of the most straightforward techniques to use in photography. Zooming in completely fills the frame and allows viewers to focus on the small details in your photo.
11. Diagonal
This has the same goal as using leading lines, except there is a sense of action or movement. This method will still lead your eyes to the subject of your photo.
Featured photo credit: Flickr Account Hells7 via flickr.com