Whether you are taking homework to school, or important business files back to the office, the humble USB thumb drive is a potential lifesaver. But what happens when you accidentally delete your files from the drive? Are they gone forever? Imagine this:
You’ve done your homework–a short story set in your Minecraft world–and it’s due today. You copy the document over to your thumb drive ready to print off at school. You triple check to make sure the file is on your memory stick before heading off to school:
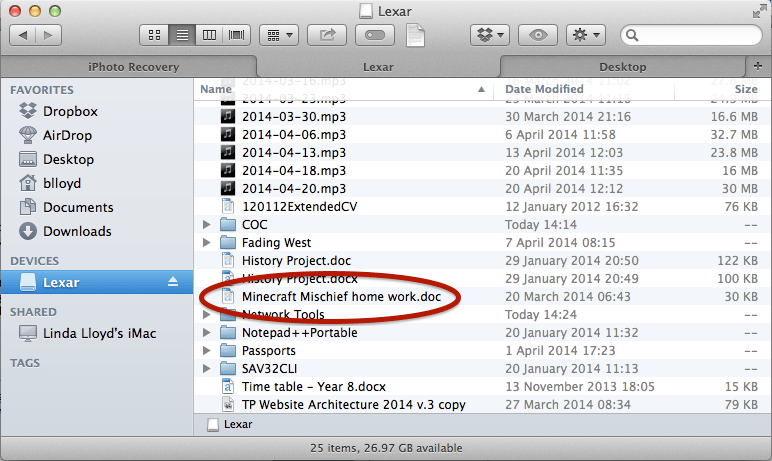
As expected, everything is where it should be. But when you get to school…
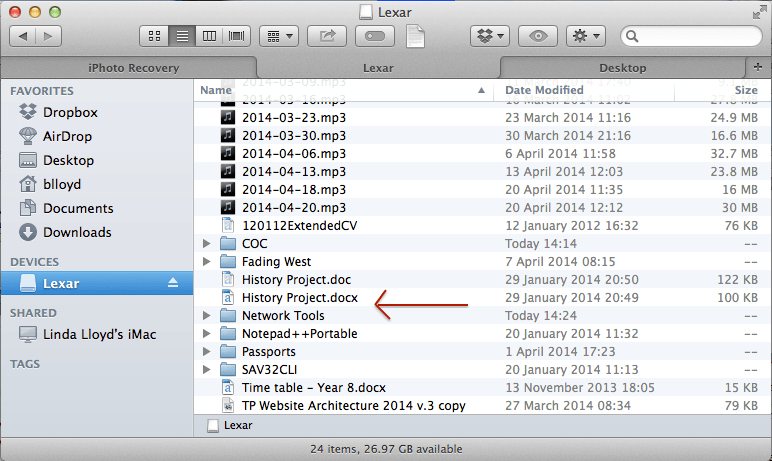
…the file has disappeared.
The good news is that just because you cannot see the file, doesn’t mean that the information isn’t still there somewhere. This guide will show you how to use Kroll Ontrack EasyRecovery Home to recover lost files from your thumb drive.
Before going any further, you will need:
- Your USB drive.
- A PC or Mac on which to work.
- A copy of Kroll Ontrack EasyRecovery Home data recovery tool–you can download a free trial copy from the Kroll Ontrack website.
The file recovery process will take about 30 minutes depending on how ‘big’ your thumb drive is.
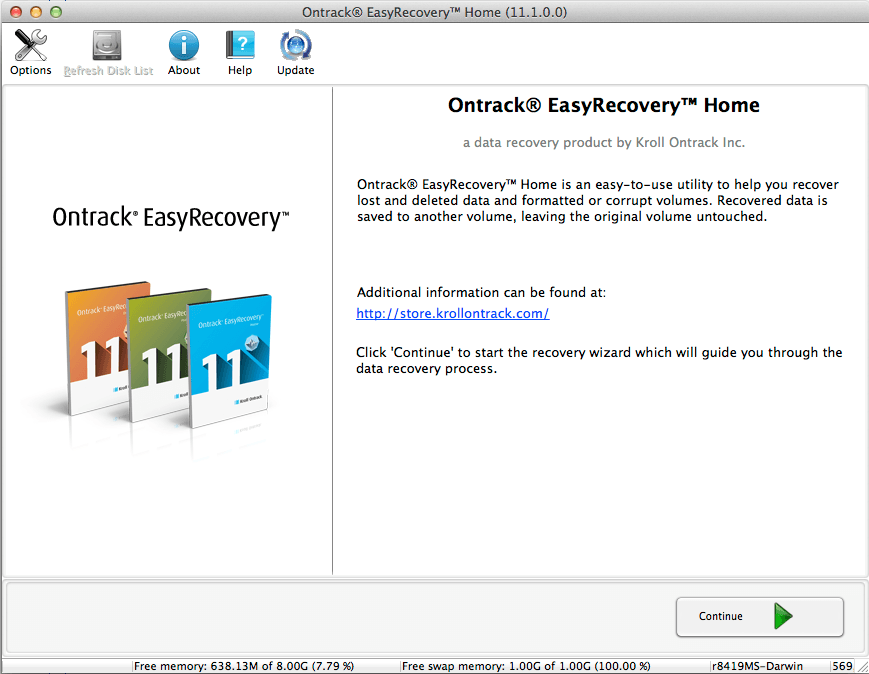
- Plug your thumb drive into the computer and fire up the EasyRecovery software. Click Continue on the welcome splash screen:
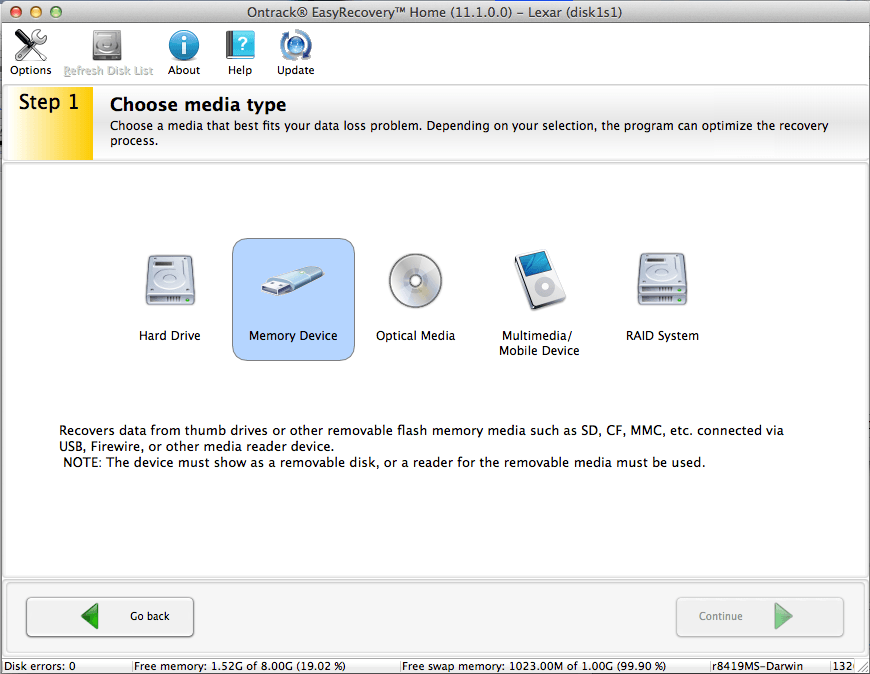
- From the Choose media type screen, select Memory Device and click Continue.
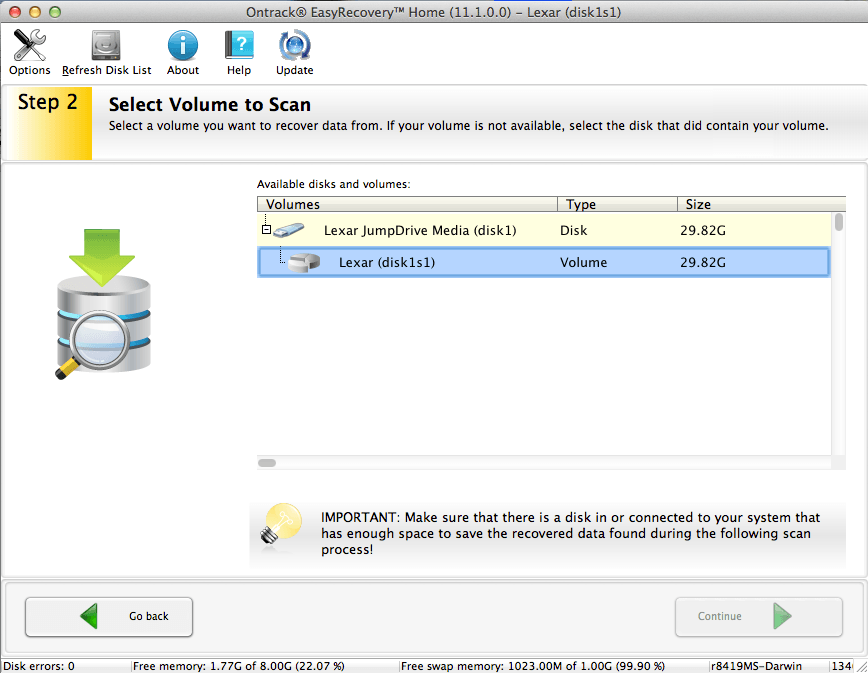
- On the Select Volume to Scan screen, you will see a list of removable drives connected to your computer. Select the one that matches your thumb drive. Then click Continue.
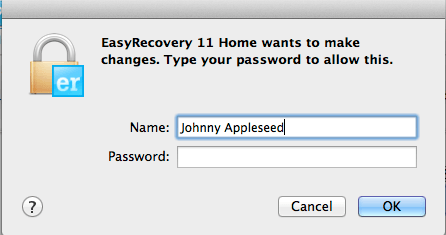
- EasyRecovery needs your permission to perform a low-level disk analysis. When prompted, enter your password and click OK, then Continue.
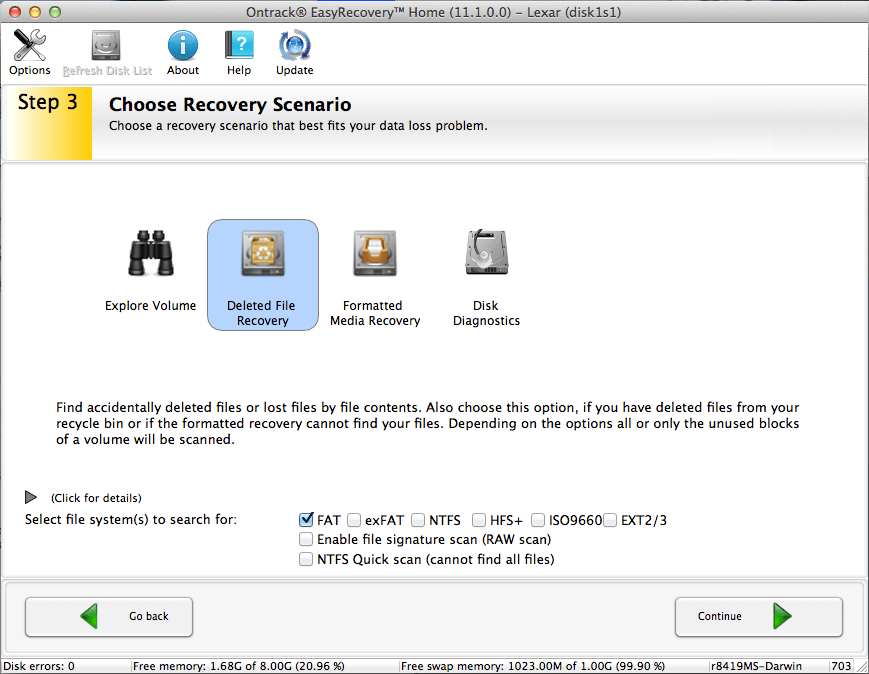
- On the Choose Recovery Scenario screen, select Deleted File Recovery and click Continue. In most cases you will not need to adjust any of the other settings on this screen.
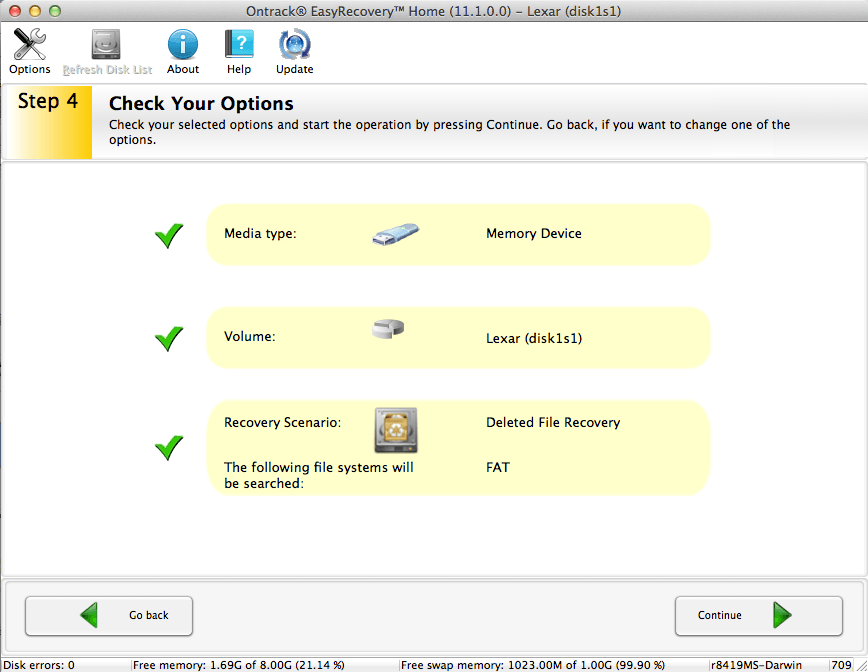
- You will now see the Check Your Options screen where you can confirm your settings. If you need to change anything, click Back. Otherwise, click Continue.
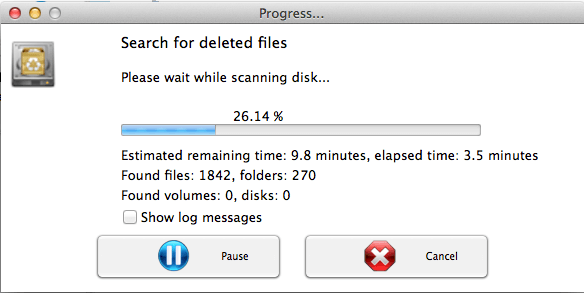
- EasyRecovery will now scan your USB drive, looking for deleted files. The process may take a while, so be patient!
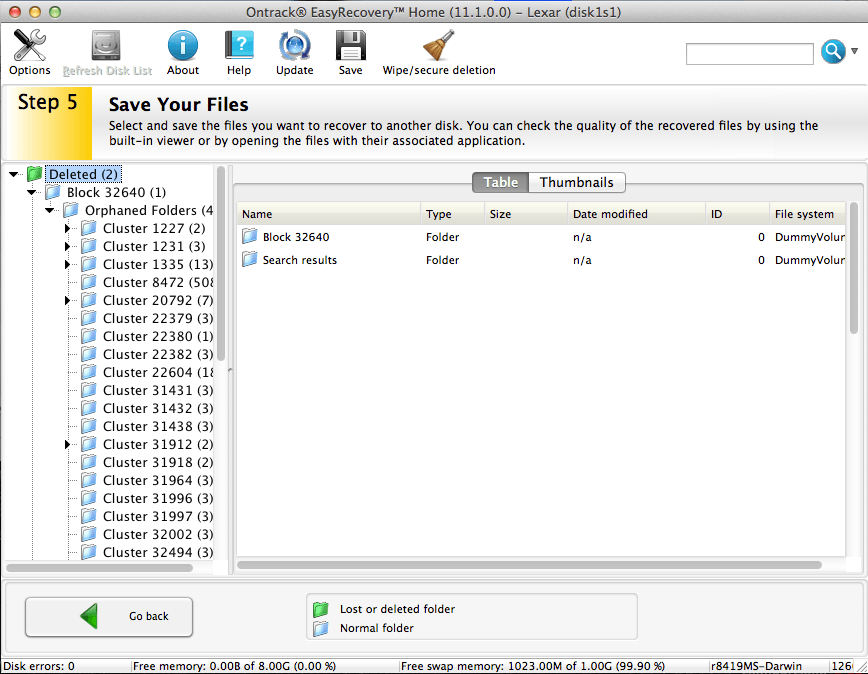
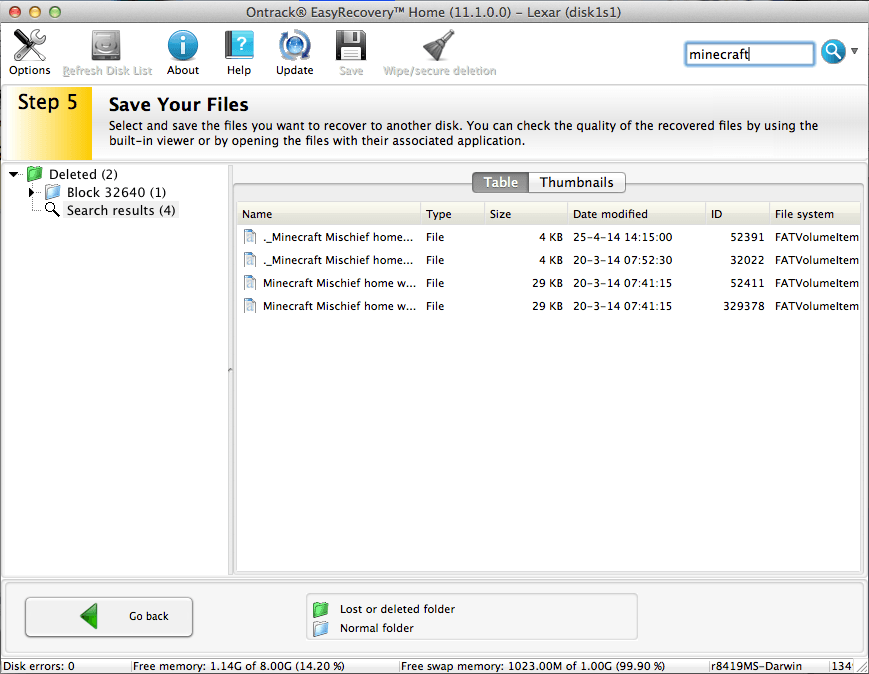
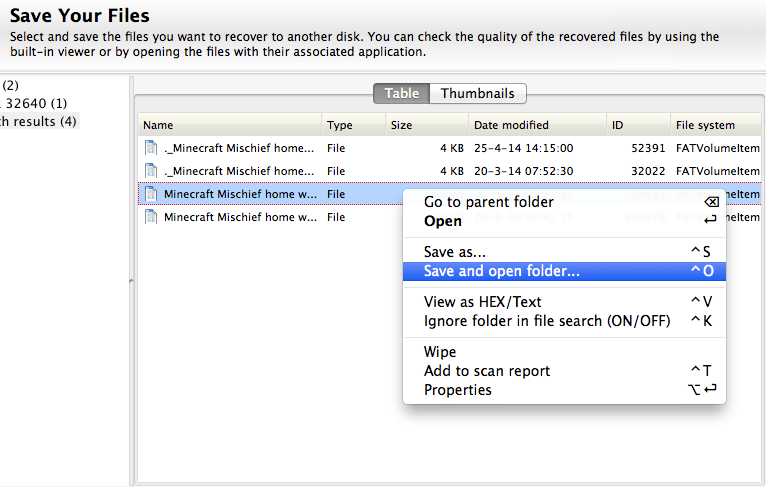
- You will now see the Save Your Files screen that will allow you to access the files recovered from your thumb drive. At first, you will probably not recognise many of the files and folders listed.EasyRecovery will now show you a list of deleted files that have the text “minecraft” in the title. The good news is that you’re nearly finished–you just need to get the file back.
- Right-click on the correct file (hold down ctrl on your keyboard and then click the mouse) and select Save and open folder…
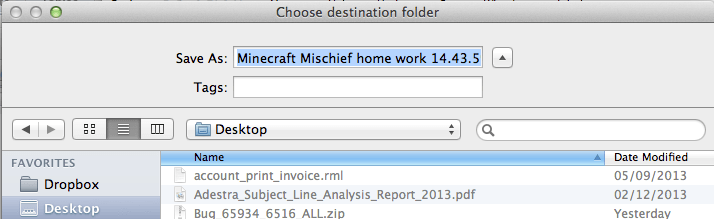
- To keep things easy, select your Desktop as the place where you want to save the file, then click Save
- EasyRecovery will then let you know that the saving process completed successfully. Click OK.
And that is pretty much it. A new window will pop up showing you the desktop and a copy of your deleted file.

Now you can print out the document, email it to your teacher, or copy it back onto your USB drive. Hopefully all before the deadline expires!
Featured photo credit: PublicDomainPictures via pixabay.com