Though the snowdrifts outside are still waist-high and the sun is still setting before 6 pm, it’s at this time of year that many avid gardeners start thinking about the green spaces they’ll be tending in the not-so-distant future. Months spent away from gardens have made many of us tetchy and anxious, prompting us to spend hours going through seed catalogues and gardening websites, adding to ever-growing Pinterest boards in preparation for the lushness we’ll be planting soon.
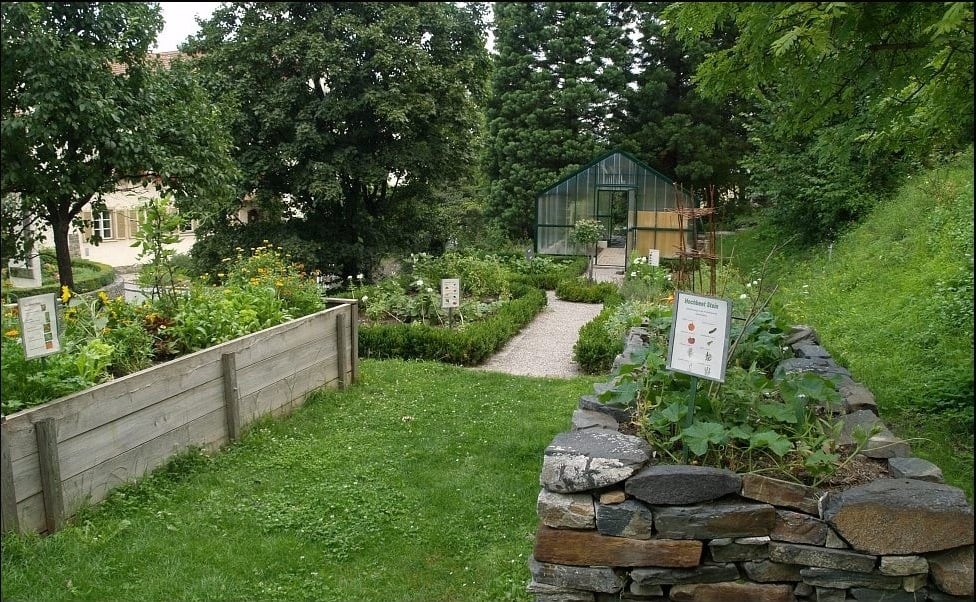
Raised beds look amazing in any garden space—be that a front yard herb garden or a sprawling backyard tomato plot—and they’re remarkably easy to build. Additionally, if the soil in your region is fairly poor, creating a raised bed full of compost-rich soil will undoubtedly help you grow abundant, healthy vegetables and herbs that may not have thrived if planted in the ground. Having a raised bed is also beneficial for jump-starting your garden, as the soil within will be warmer than the earth below ground level.
Basic materials needed:
- Measuring tape
- Garden spade and trowel
- Lumber (pre-cut, or else have a table saw handy)
- Wood glue
- Screws that are long enough to hold the wood sturdily in place
- Steel corner docks (optional)
- Garden bed layers (newspaper, lawn clippings, leaves, compost, and bedding soil)
Wooden Beds
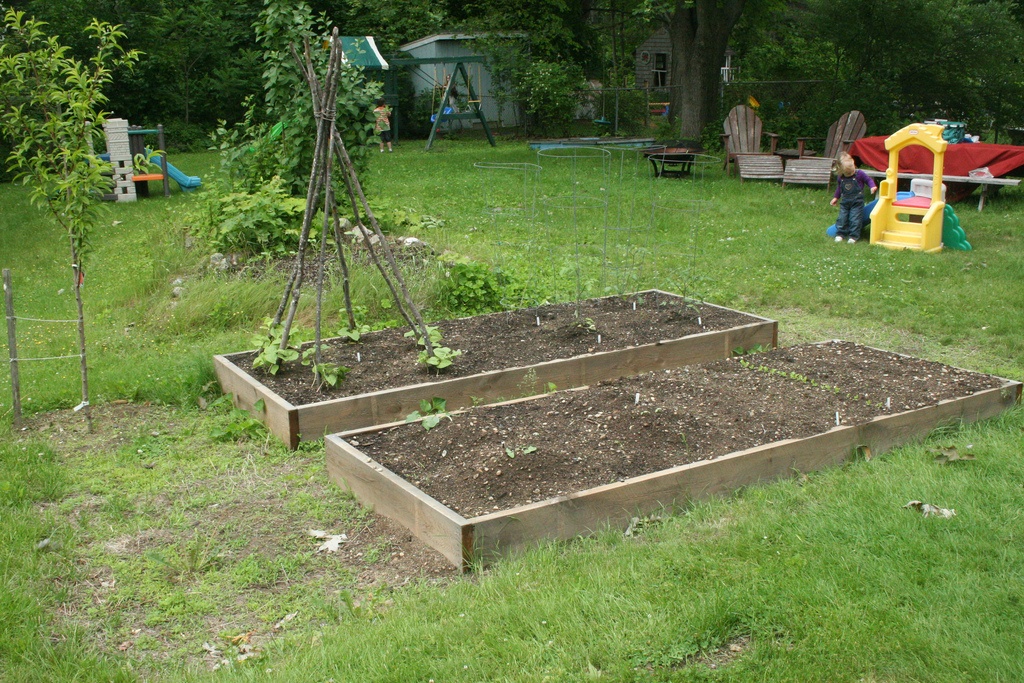
Many people choose to make their raised planter beds out of wood, which is really the cheapest and easiest resource to work with. To create a raised wooden bed, begin by measuring out the area that you’ll be working with. The bed shouldn’t be more than 4 feet wide, as you’ll need to be able to reach the center of it to pull weeds and the like, and as for height, I’d make it at least 8-10 inches high. Some people prefer theirs to be 1-2 feet in height, but that’s an individual choice.
Cedar is the best type of wood to use, but you can also use pine for this project. I like to use 4″ x 4″ lumber for beds, as they’re fairly sturdy and have more surface area for wood glue to adhere to.
Once you’ve measured out the garden space, dig a slight trench around the perimeter for the timbers to nestle into. Lay the wood down into the trenches, ensuring that they butt up against each other quite firmly, and screw them into place. Slather those timbers with wood glue and then lay down the next layer, ensuring that you’ve alternated the orientation of the wood to create lapped corners, and allow this to dry for 6-8 hours before screwing them into the lower layer of wood. Repeat this process until the bed is as high as you’d like it—just be sure to stagger the screws around the edges so you don’t drill one into the other.
Once you’re happy with the height, you can reinforce the edges with steel corner docks if you feel that extra stability is needed.
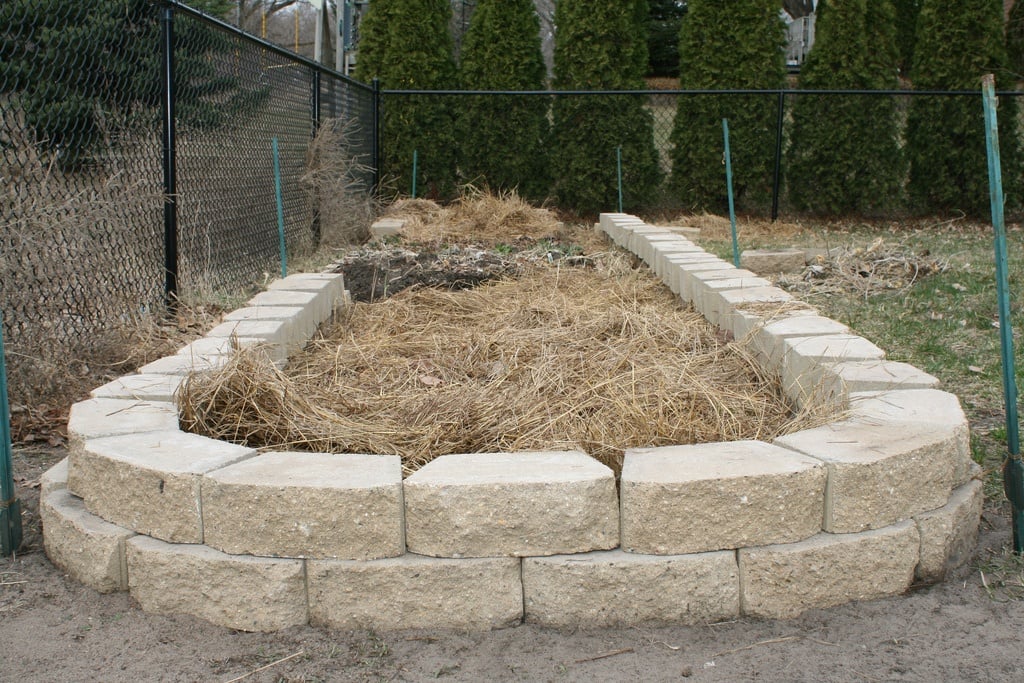
Brick or Fieldstone Beds
Materials needed:
- Measuring tape
- Bricks, cinder blocks, or stones
- Garden spade or trowel
- Mortar paste
- Mason’s trowel
- Garden bed layers (newspaper, lawn clippings, leaves, compost, and bedding soil)
The method of creating beds of stone is really quite basic. Do you remember stacking bricks or logs when you were a child? Remember how you needed to stagger/alternate them so they didn’t just fall over? This is the same deal, only on a larger scale.
The dimensions for a block-bordered raised bed should be the same as with wood, but instead of wood glue and screws, you’ll use mortar to keep the bricks/stones in place. In order to figure out how many bricks you’ll need, go to a building center and ask for an estimate—just give the supplier the measurements of the length and height of the planter you’re planning, and they can let you know how many blocks are needed. You can either buy new materials, or re-use masonry from buildings that have been torn down. Wherever you source your blocks from, always have 10 or so extra lying around just in case they’re needed.
As with the wood, dig a slight trench around the perimeter of the bed for the bricks to nestle into. Bricks are great to work with as they can be adjusted to create any shape; if you don’t want a rectangular bed, you can create a round, oblong, or free-form organic structure instead. Lay down the first layer of blocks into the trench, and then lay the second layer atop them, ensuring that they’re staggered. Once you have them all in place, you’ll lift them one by one, slap some mortar paste on the bottoms of them, and set them back into place to secure them. You’ll let this cure for a day or two before filling in the bed.
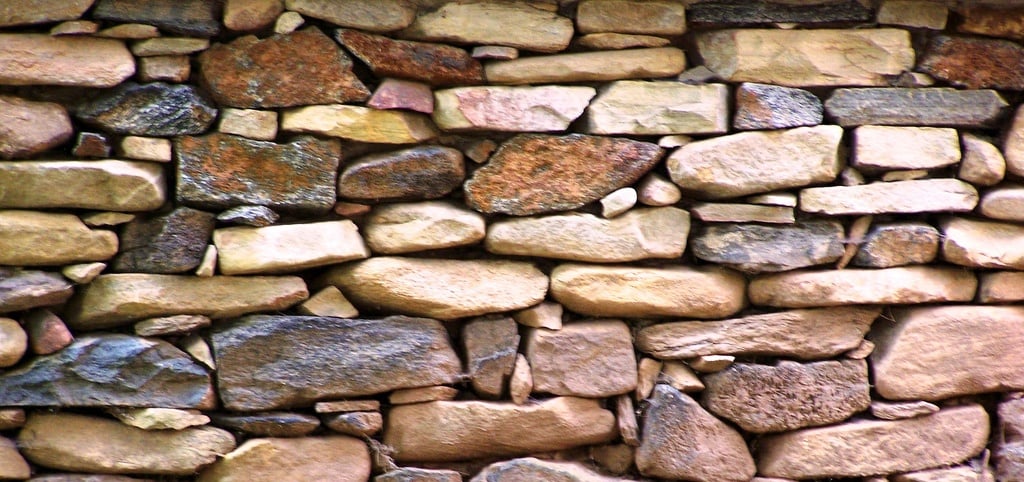
If you’re using fieldstones instead of bricks or blocks, ensure that they’re mostly flat and will sit together firmly and securely. You’re also more likely to have gaps between these stones than with bricks or cinder blocks, but you can fill those in with smaller rocks and a bit of mortar.
Layered Filling

Now that you’ve created the planter, it’s time to fill it with a “lasagna” of organic layers that will create a rich soil. Put down about 4 layers of newspaper (black and white print only: no colour or glossy adverts), then 1 inch of aged animal manure or vegetable compost.
Note: be sure to wet your newspaper before layering it, so it’ll stick together and won’t fly off into your neighbour’s yard with the slightest breeze.
After the paper comes a few inches of “green mulch” made from mixed leaves, grass (lawn clippings, straw), and peat moss, followed by a thick layer of compost-rich bedding soil. That’s all watered and left to settle for a few days, and after that, you’re ready to plunk in your seedlings.
*Note: Be sure to adjust the layer thicknesses to correspond with the height of your raised bed: an 8-inch planter will only need 2 inches of green mulch, while a 1.5-foot-tall bed will require 8-10 inches of it, etc.