Believe it or not, the first thing a person notices when you shake hands are your fingernails. First impressions matter, especially if you happen to be the one who rules the boardroom. Yellowed nails, chipped varnish, and jagged edges show a lack of self-esteem. Fingernails accentuate the beauty of your fingers; they speak volumes about your personality. Instead of spending a lot of money at the salon, you can pamper them at home and get great results.
Here are some simple tips to guide you through a professional-looking manicure at home. To get a professional manicure at home, you need to stock up on these essentials:
- Acetone-free nail polish remover
- Cotton swabs or balls
- Cuticle trimmer
- Nail buffer
- Nail trimmers
- Nail file
- Cuticle or hand cream, and cuticle oil
- Nail polish
- Base coat
- Top coat

Once you have all the essentials tools, follow the instructions below to get beautiful nails at home, for less than a trip to the salon:
1. Set up your workspace
Nail varnishes have a tendency to spoil surfaces, so you must be careful! Never do a manicure near your laptop. Protect the surface where you are planning to do the manicure with scrap paper.

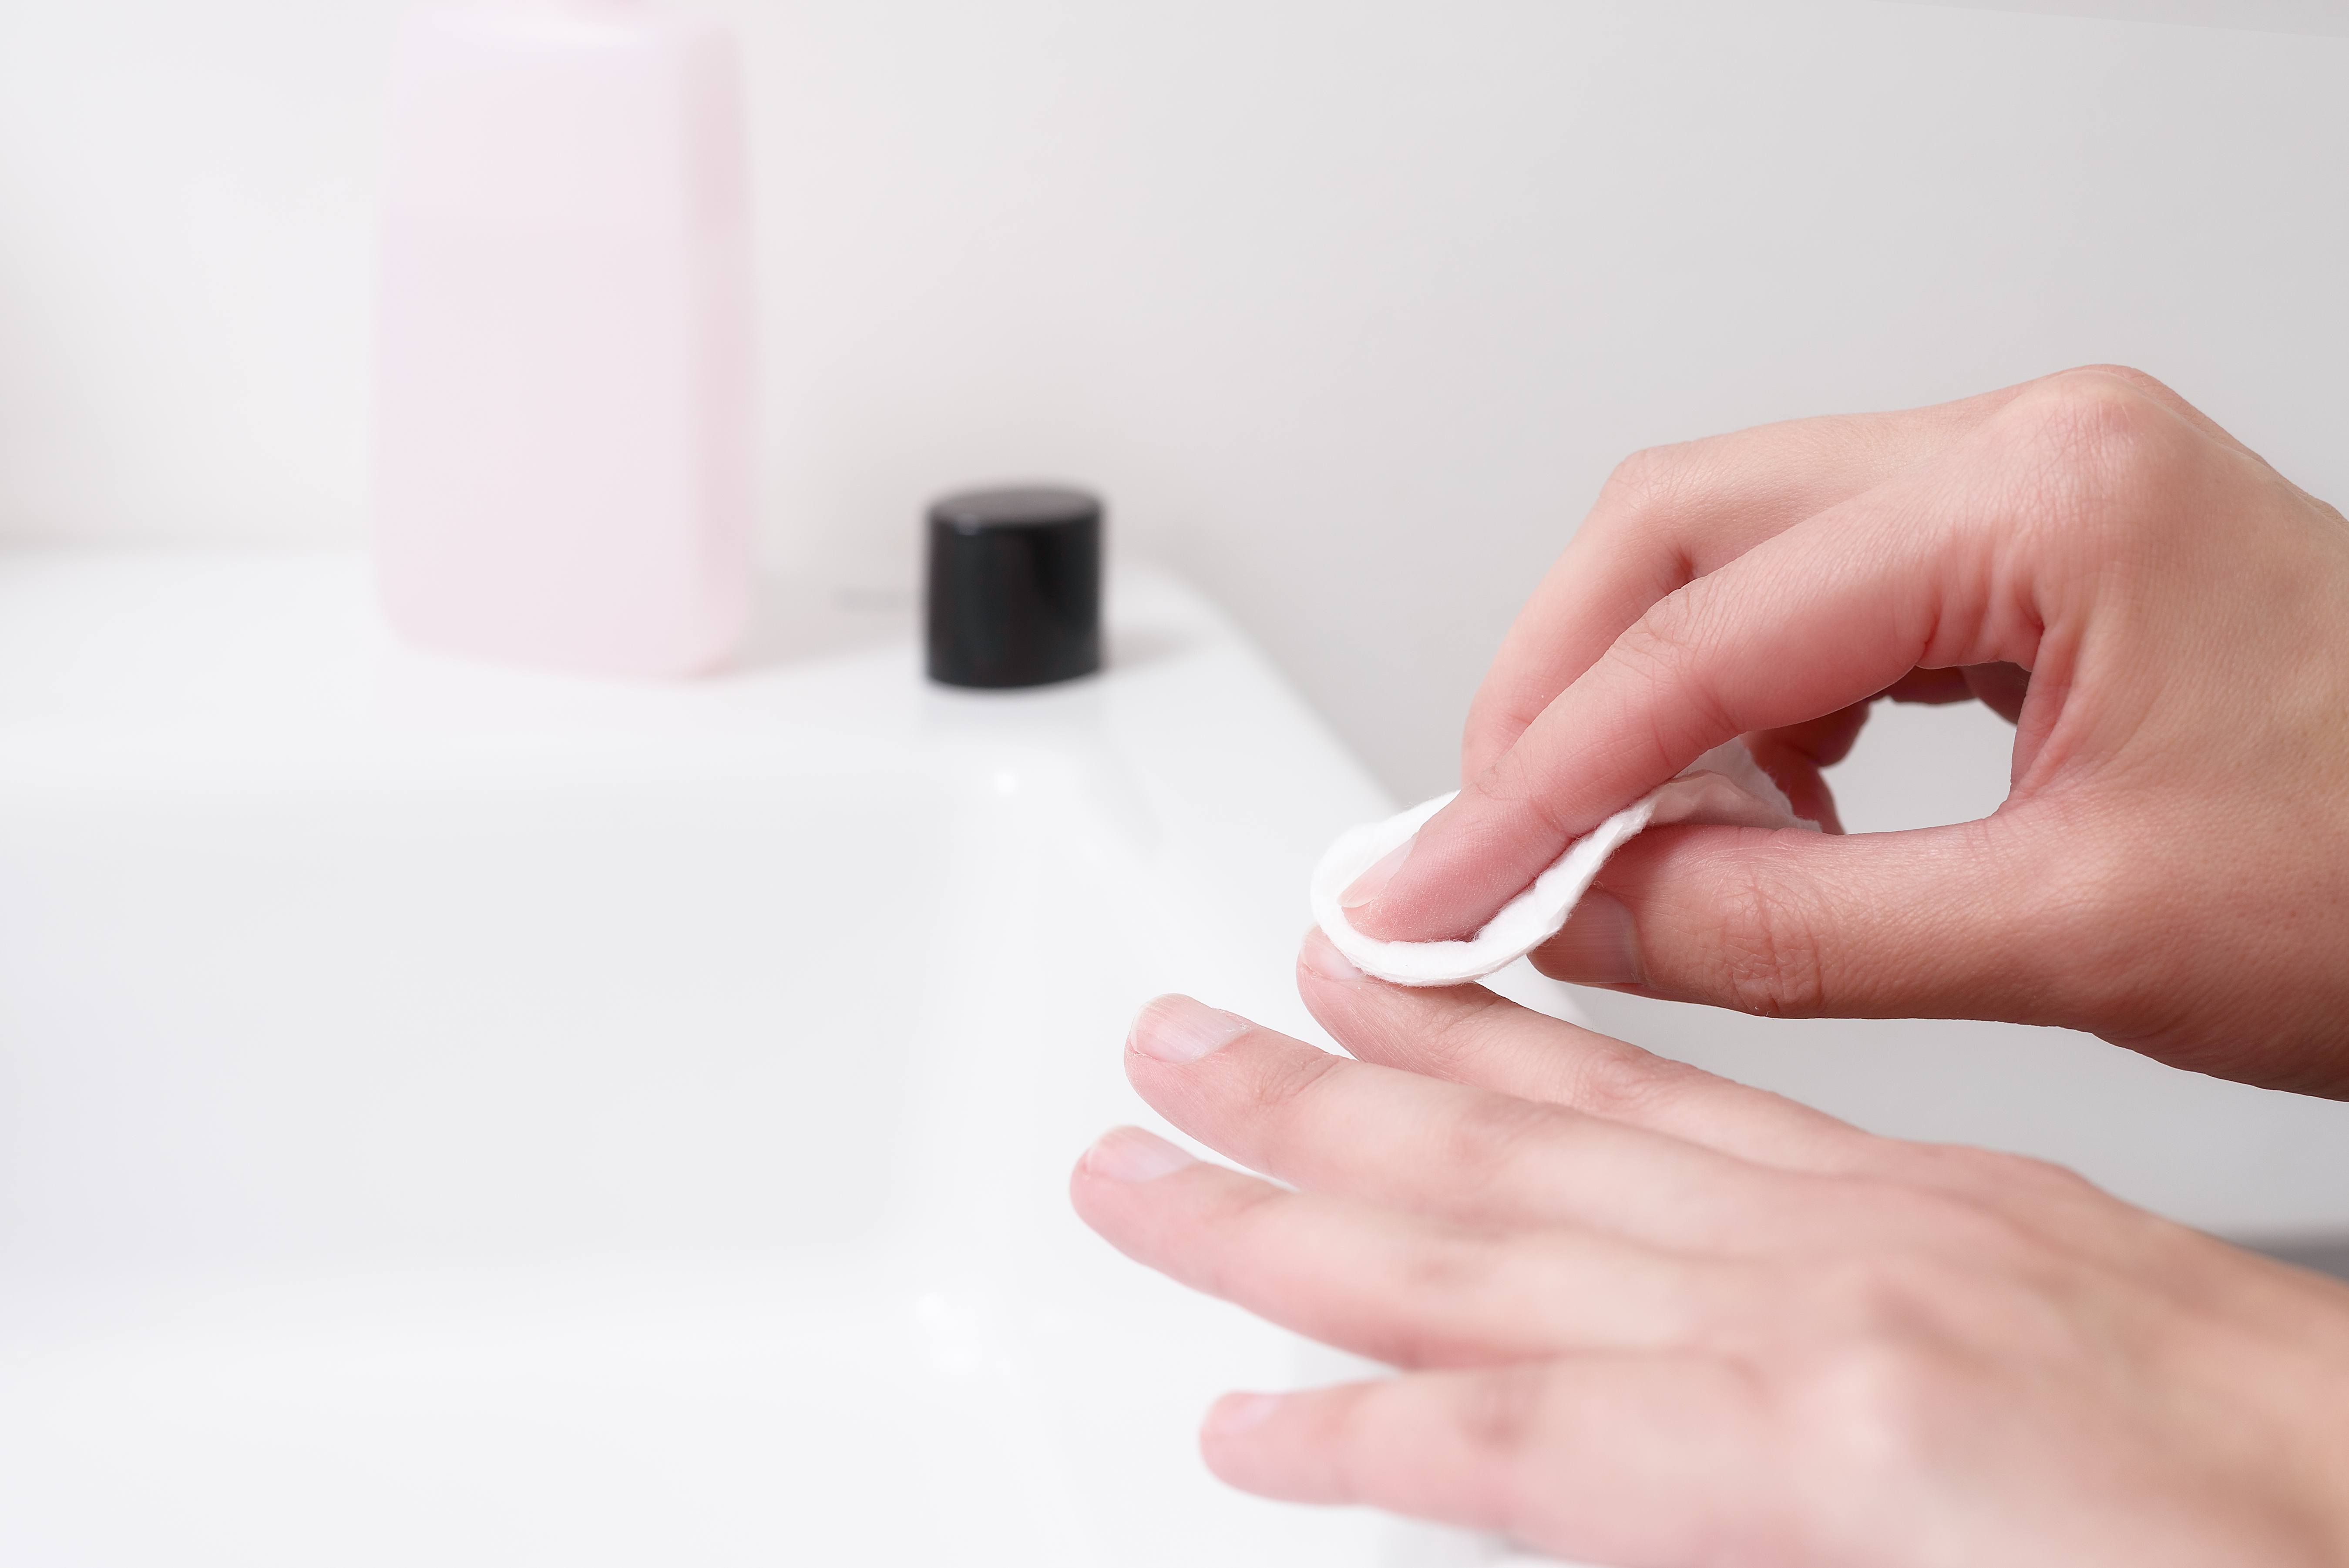
2. Remove nail varnish
Use an acetone-free nail varnish. Acetone helps to remove the nail paint easier, but it is really harmful.
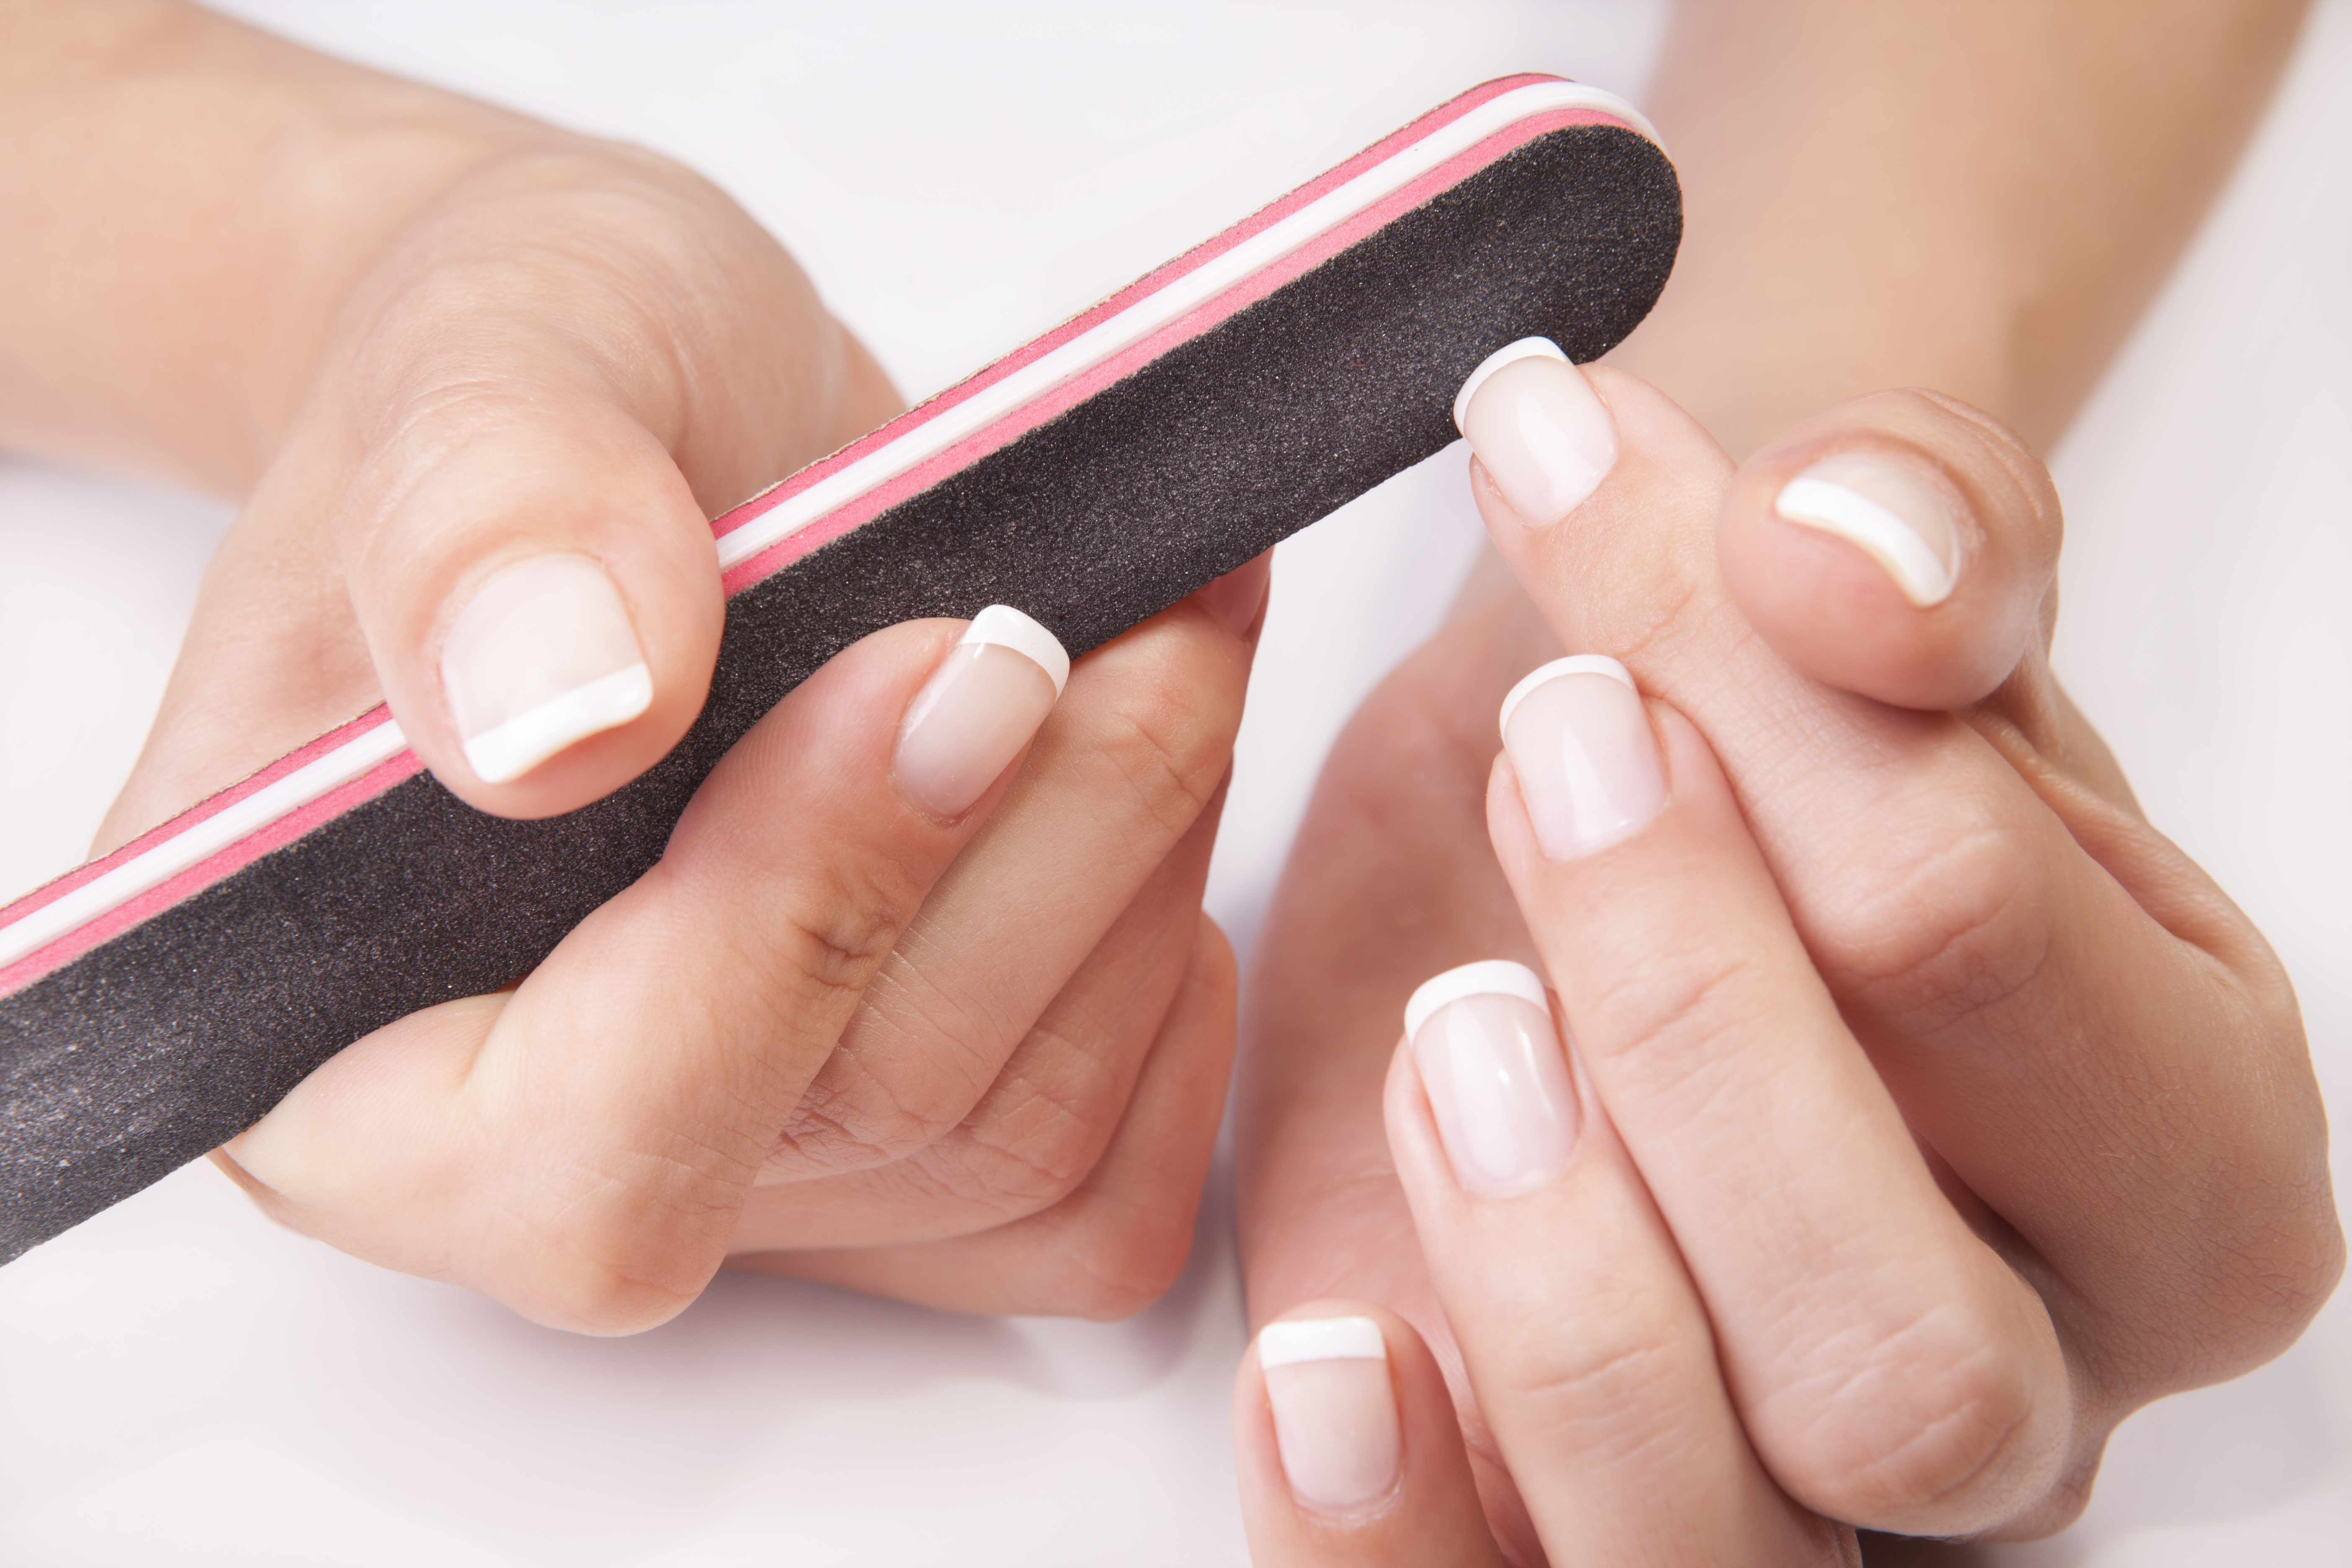
3. Cut or file nails
Use nail clippers to trim your nails, but don’t make them too short. The white tip must show. Use a nail file to get a clean shape and to smooth any rough edges left by the clippers. Don’t be aggressive with your nail file as this can weaken your nails. The ideal nail shape should be “squoval” or u-shape. Cut off any hangnails.
4. Buff your nails
After giving shape to your nails, it’s time to polish them a bit. You can use a white block, stick, or a pad nail buffer. Use a soft buffer to smooth out the ridges on the nail.

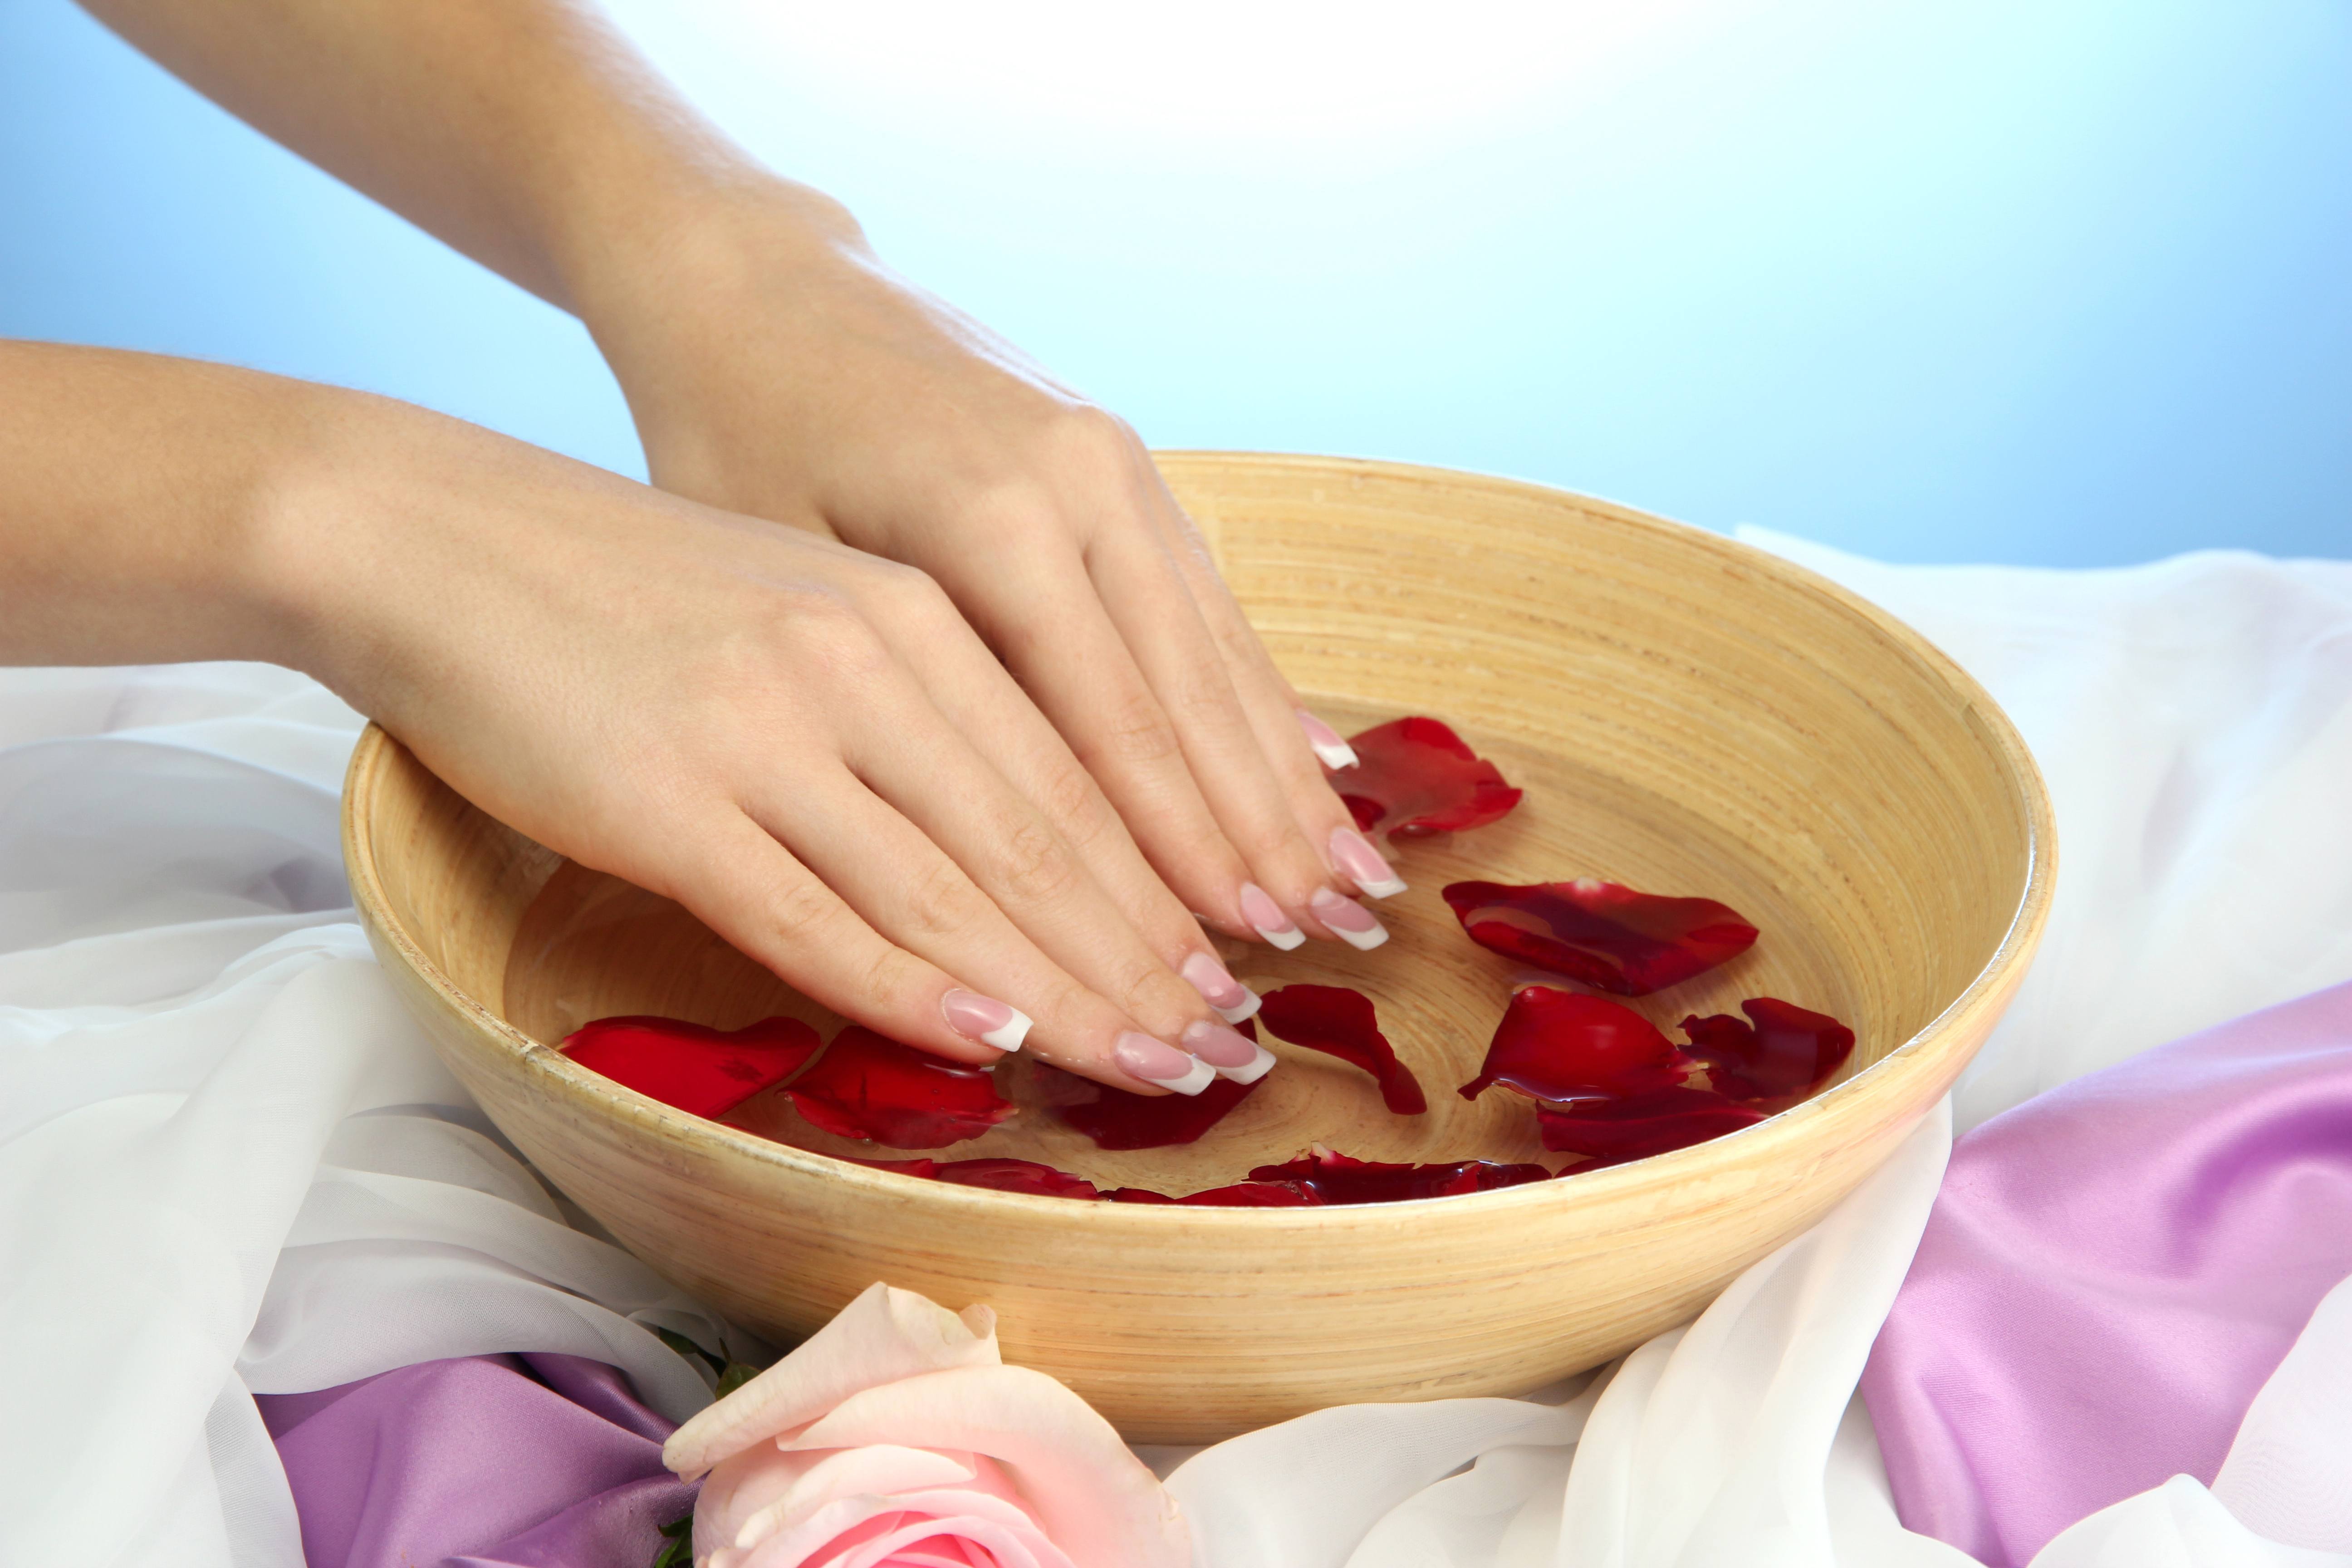
5. Soak your fingers
Soaking your nails in warm water and soap will remove all dead skin cells, fine residue particles and soften the cuticles. After dipping your hand, remove any excess dirt that settles under your nail bed. If you have dry skin and delicate nails, rinse them, rather than soaking them in hot water. It is advisable that you dip your hand first in lemon juice to remove the yellow stains on your nails and then soak your fingers in hot water. There are great ways to strengthen your nails by just soaking.
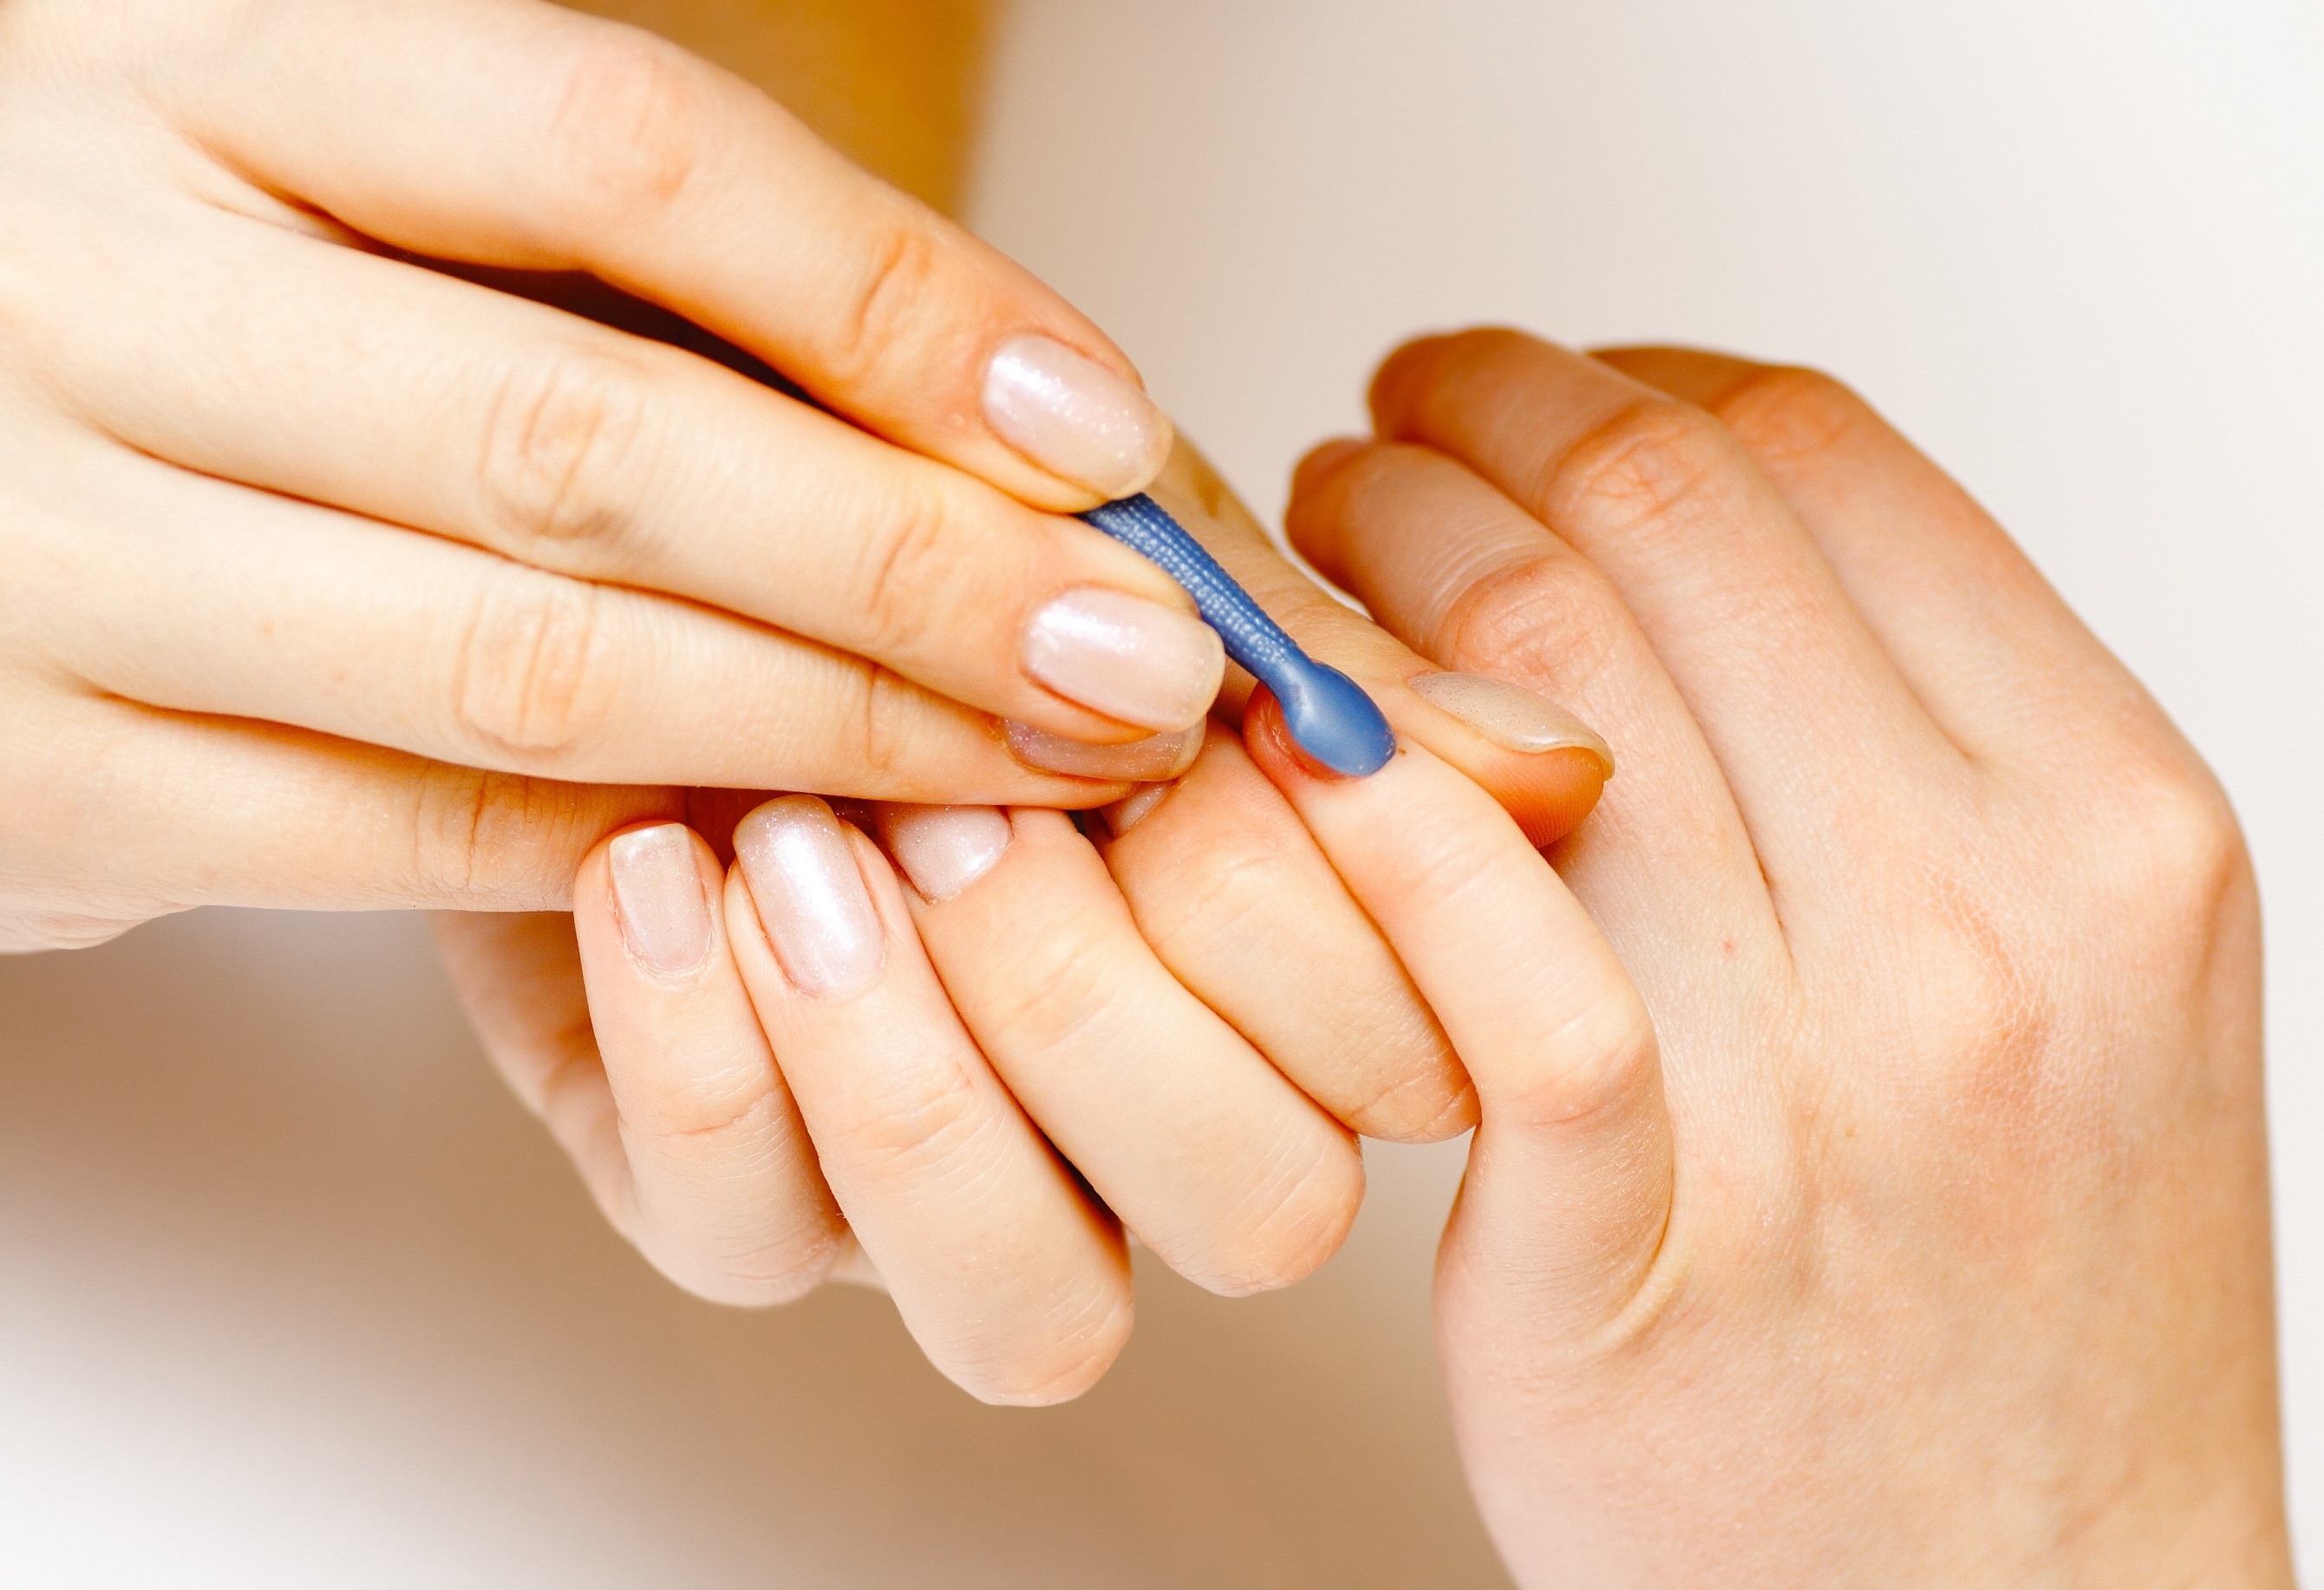
6. Pamper your cuticles
Using a sterile cuticle pusher, or a small binder clip without sharp edges, gently push back the cuticles. Make sure not to bruise your cuticles because that can cause infection. Apply the cuticle cream. Remove excess cream with a paper towel in the direction you pushed the cuticle. You can also massage your cuticles with a good cuticle oil, or olive oil, to allow blood circulation to make your nails look healthy.
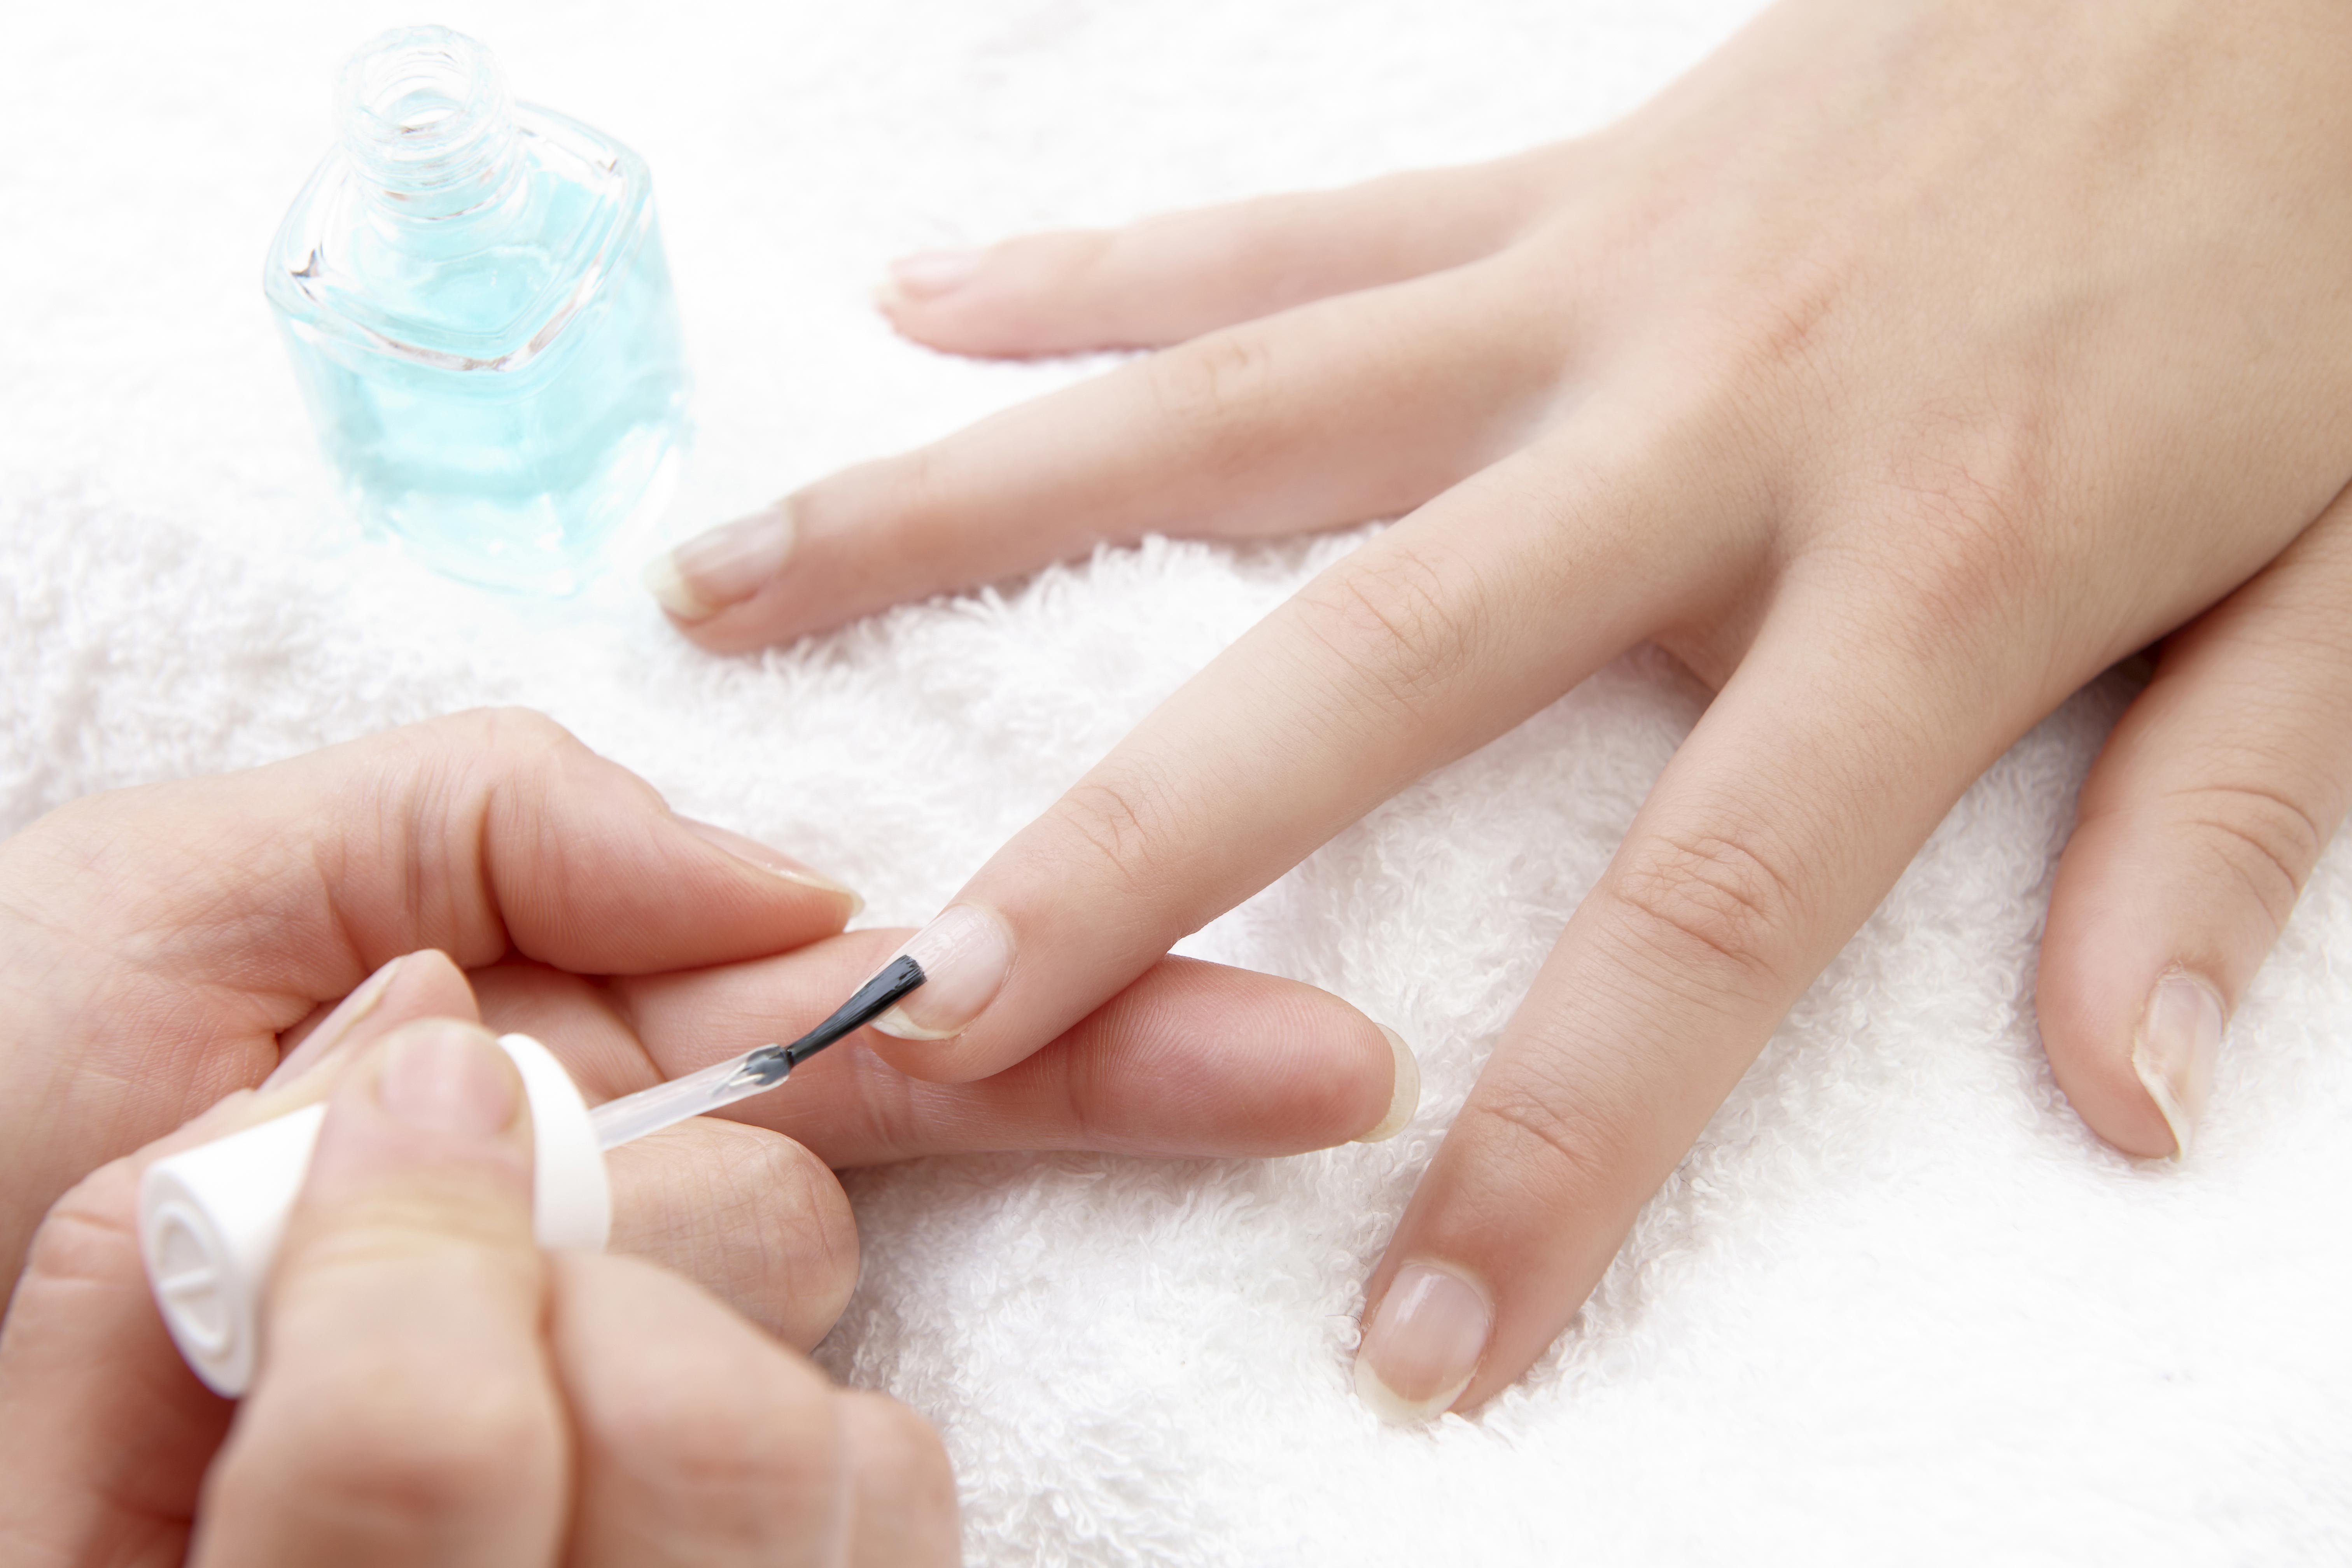
7. Apply a base coat
If you want to use a nail varnish, start with applying a clear base coat or nail hardener. Let the base coat or primer dry completely. A good base coat will help remove all unevenness of your nails and make your nail varnish last longer. It also prevents your nail from staining.
8. Apply nail polish
Select your favourite colour and get started. Before opening it, roll the bottle between your hands for 10 seconds. The first coat should be thin. Start by painting a vertical stripe down the center of your nail and repeat on either side. Paint to the edge, but keep a small gap at the side to avoid painting on your skin.
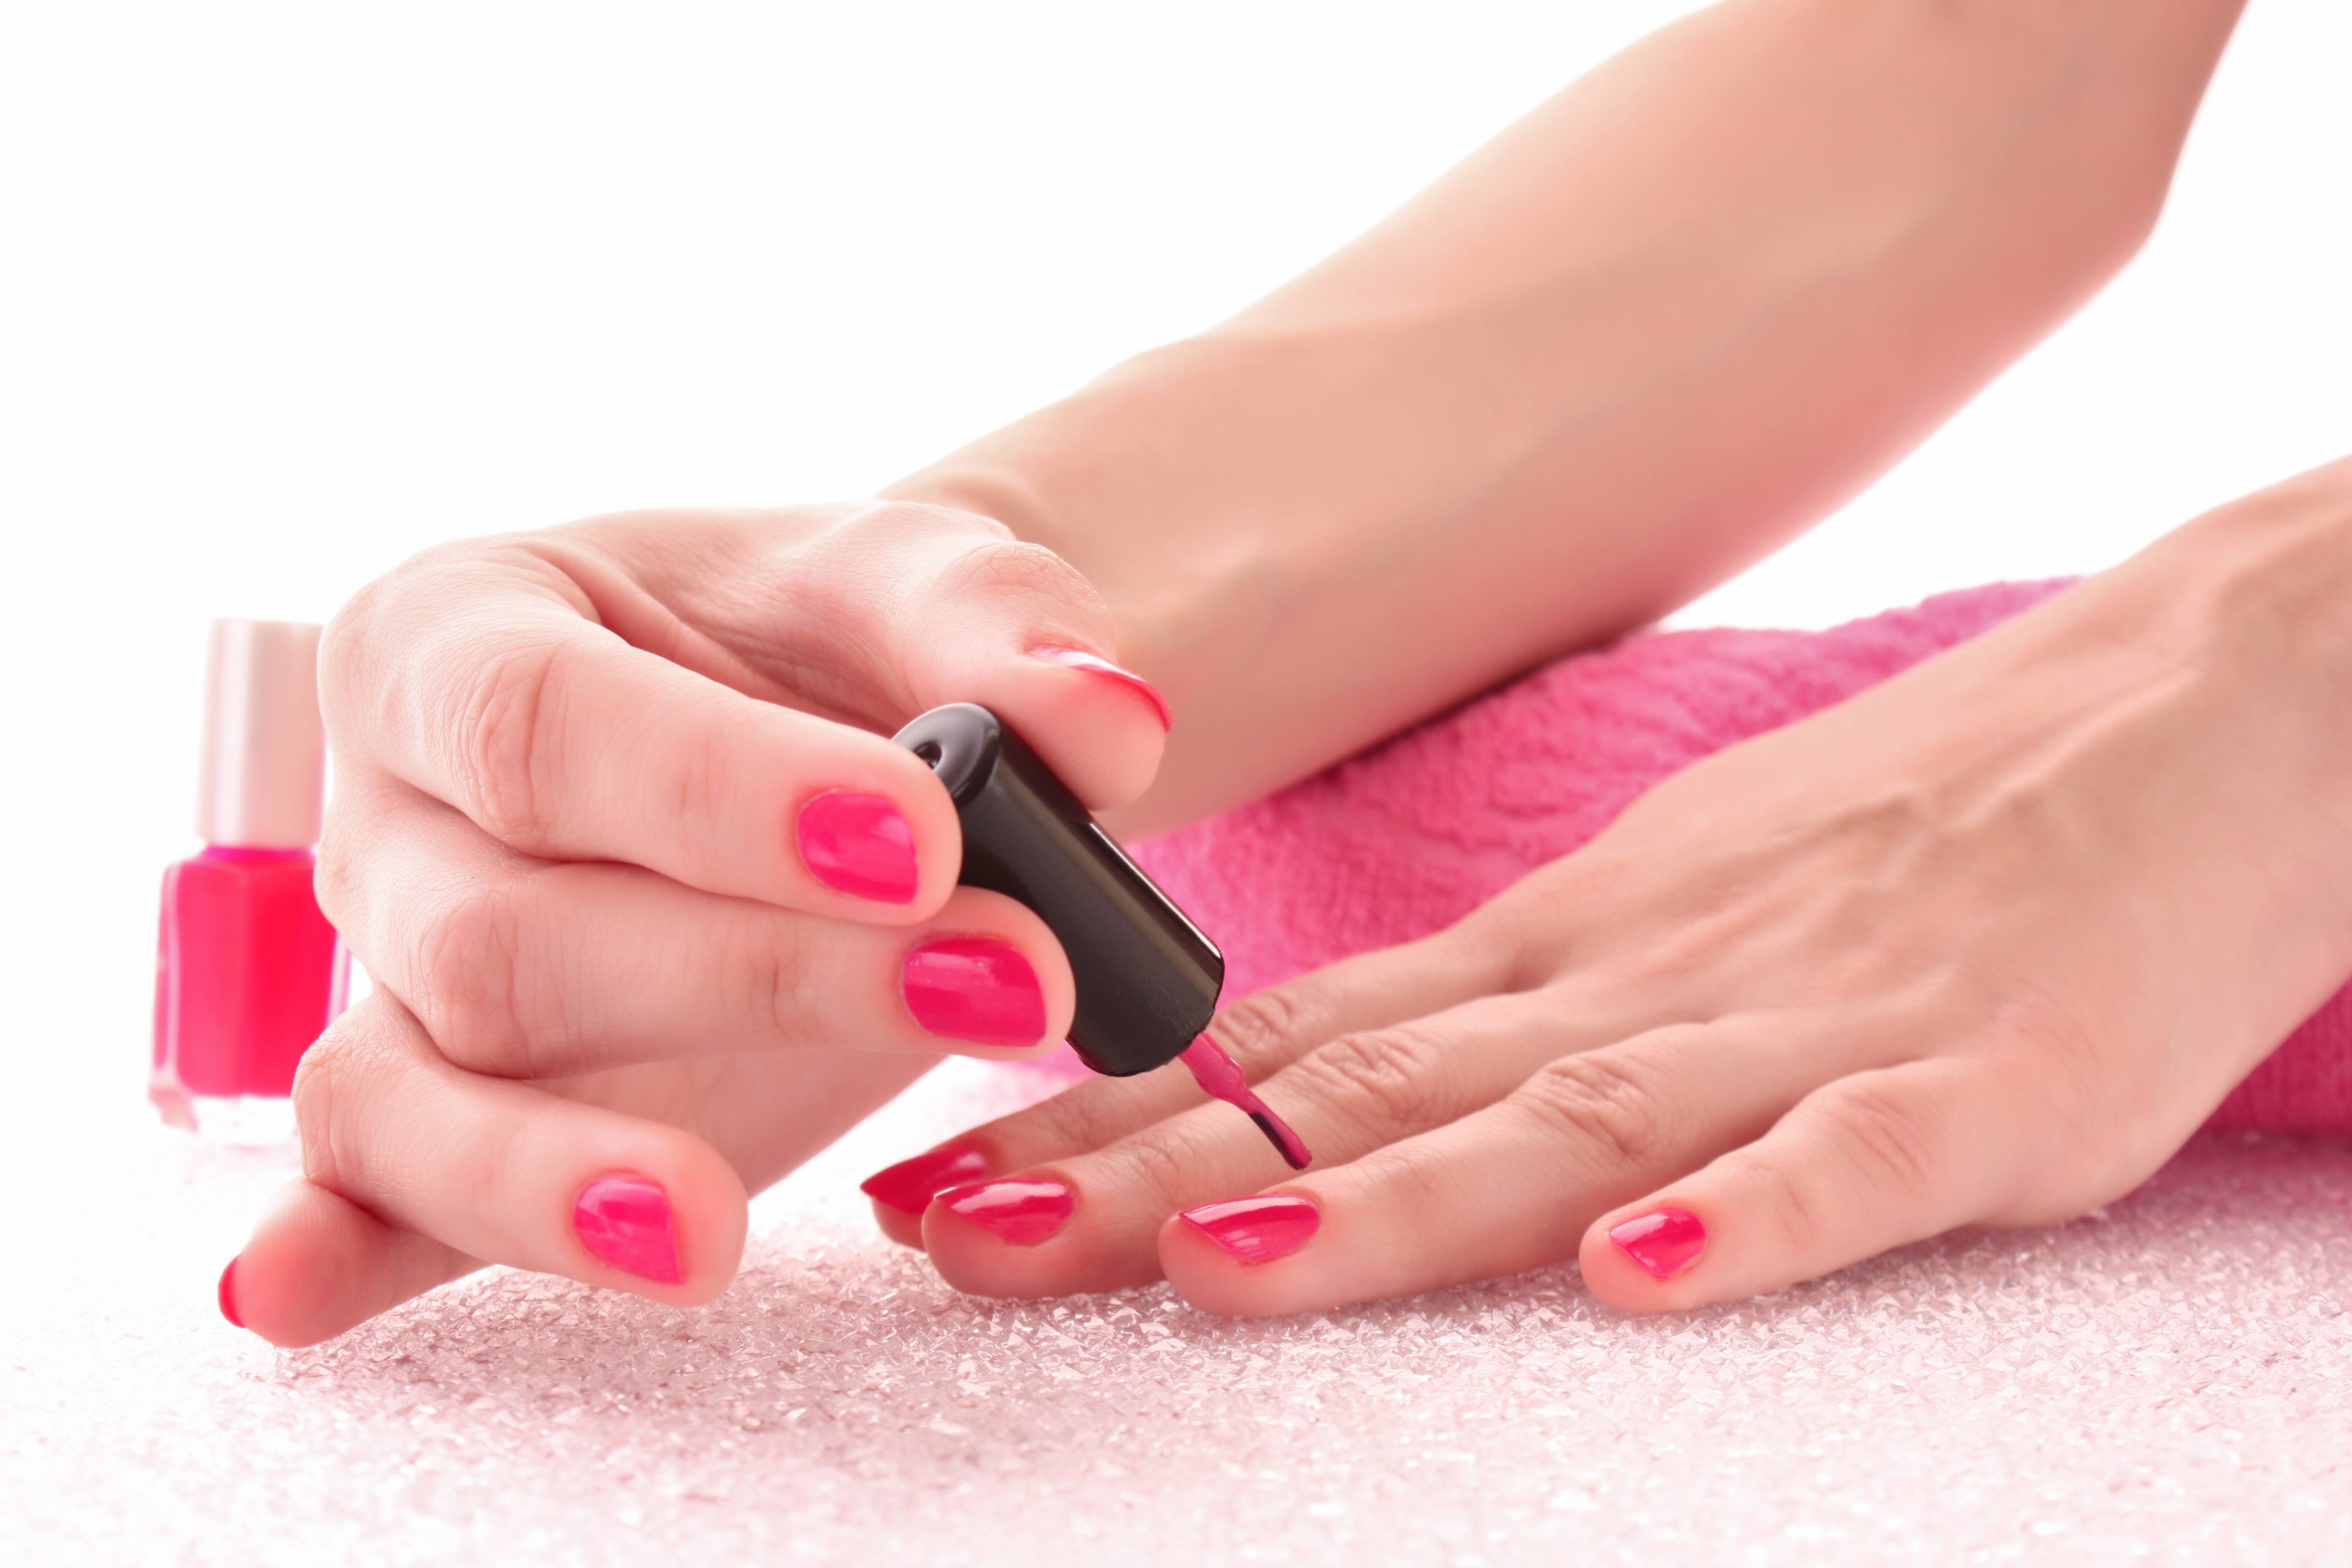
Place the brush at an angle and press gently so that the bristles spread and the colour glides smoothly on the nails. Use a touch-up pen to remove any paint on skin. Once you are a pro at applying nail polish, you can do nail art at home!
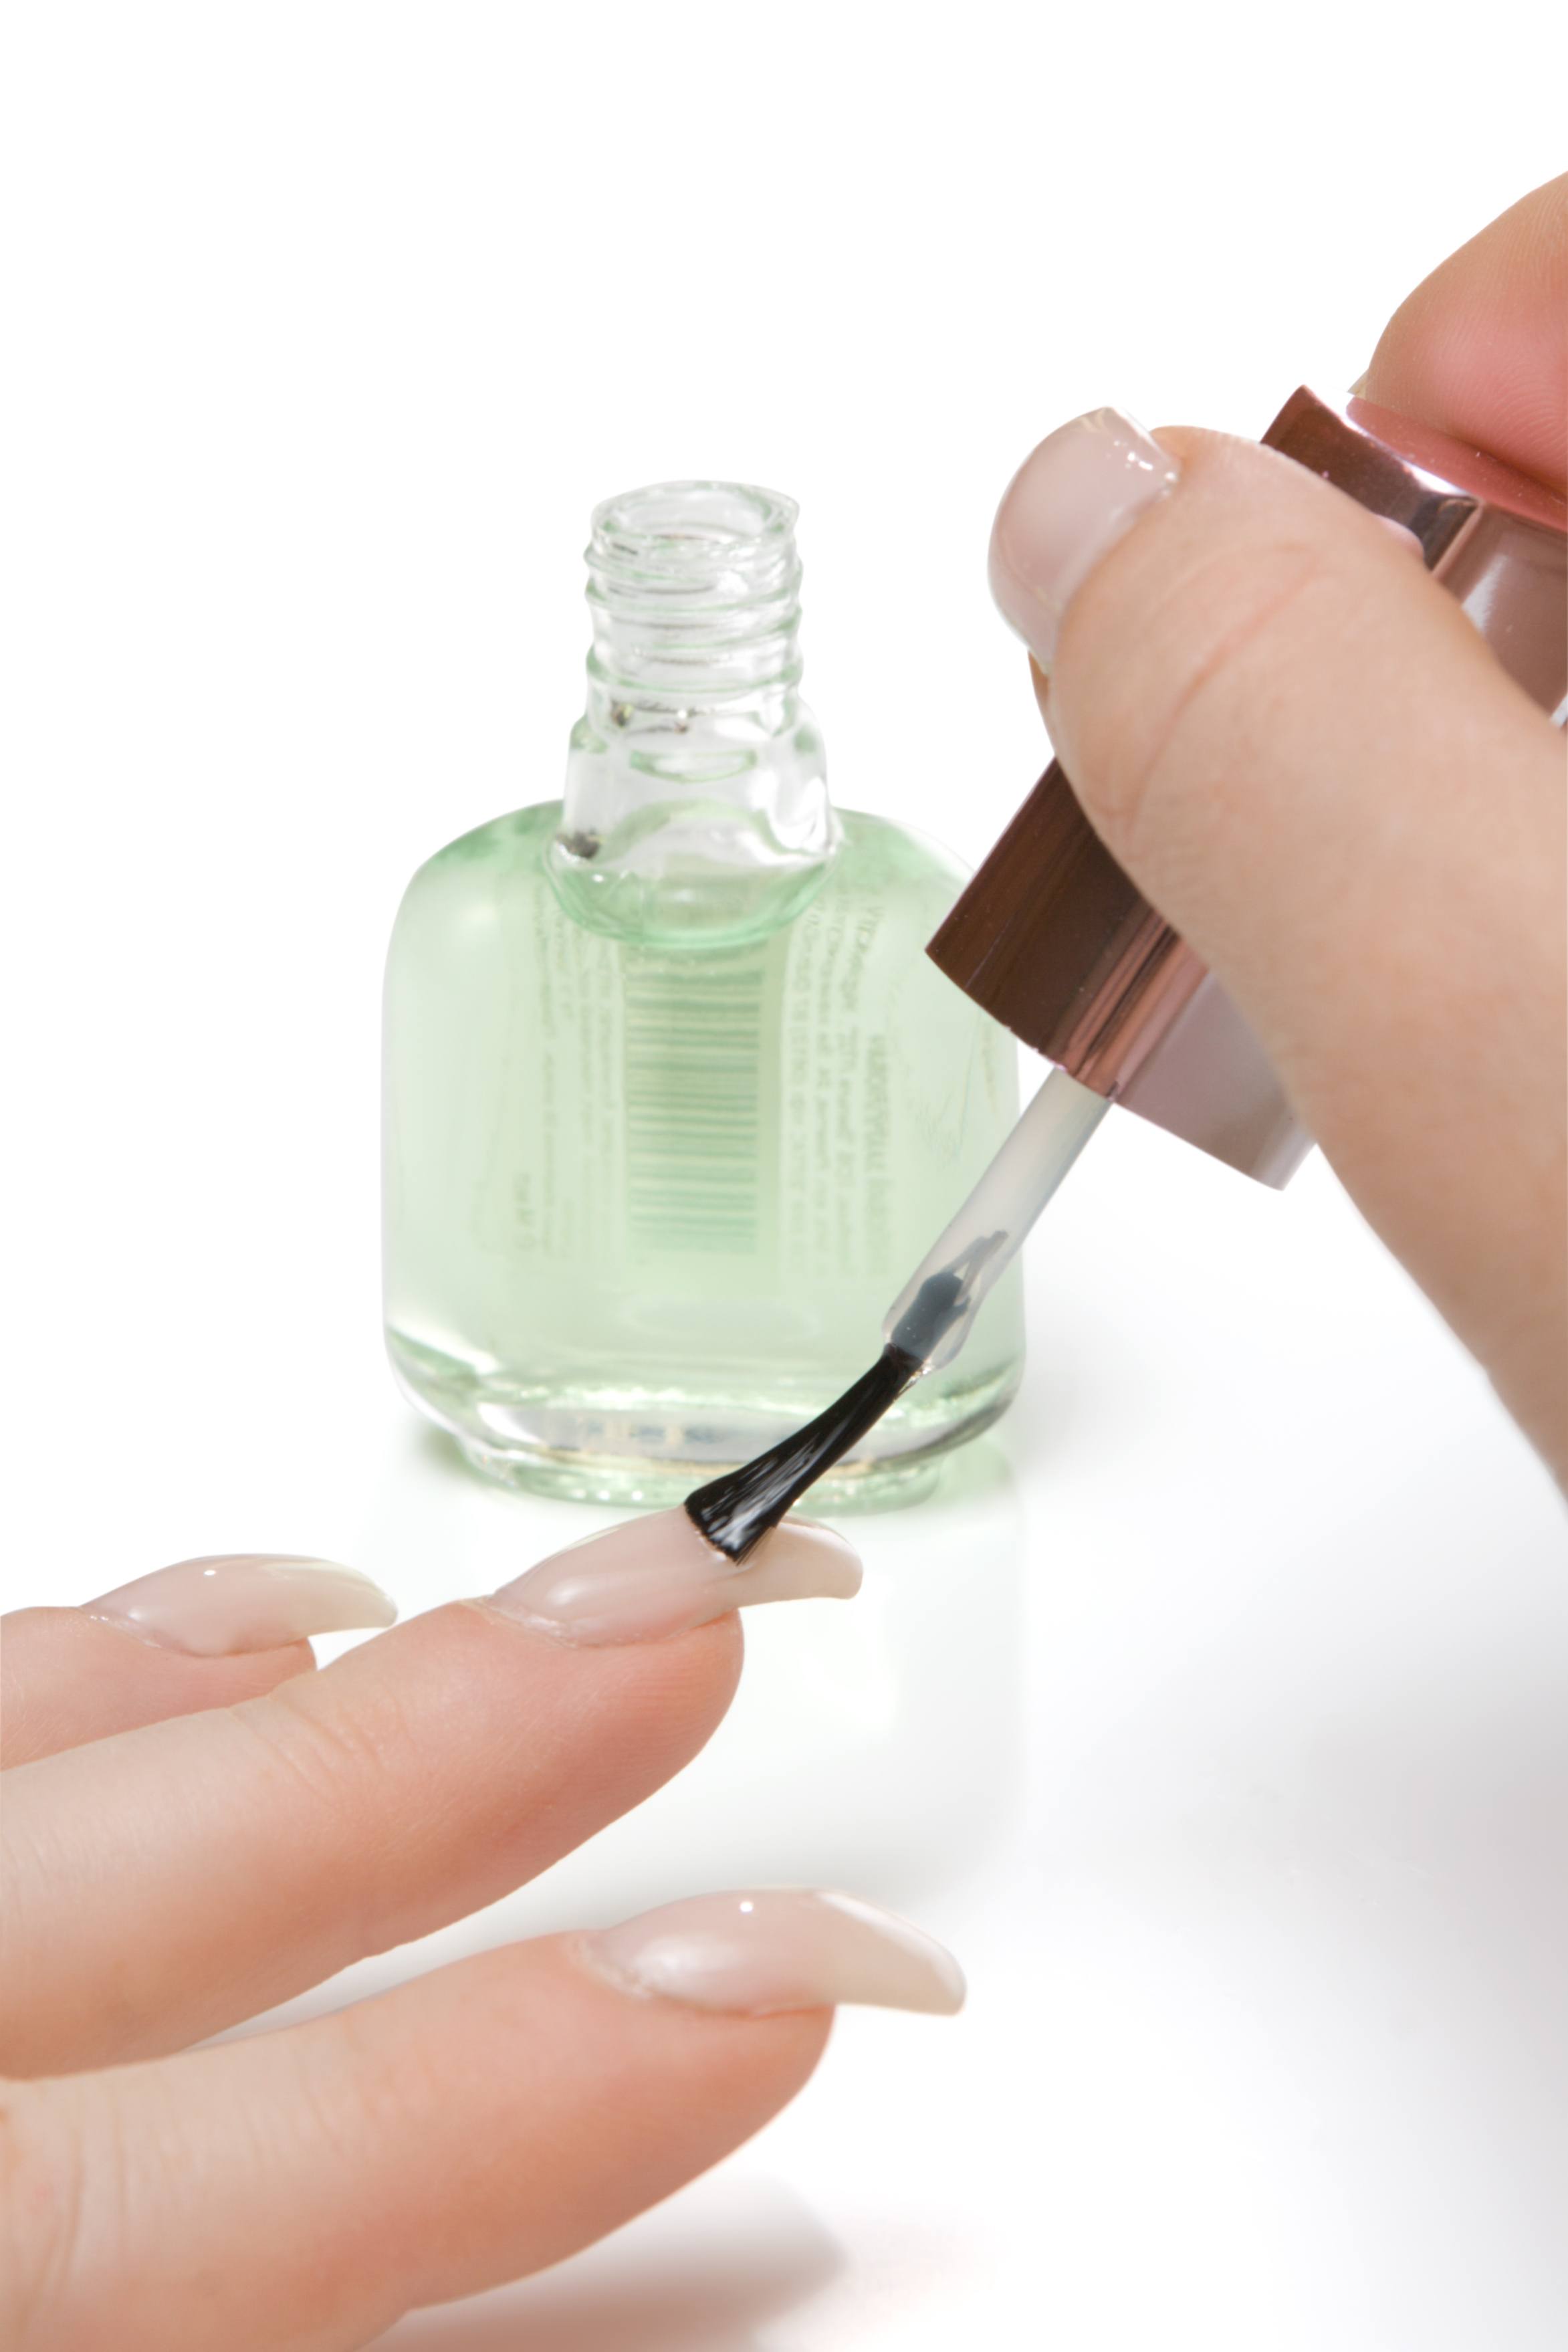
9. Apply top coat
Add a bit of shine to your newly-painted nails. A top coat ensures a hard and scratch-free top layer.
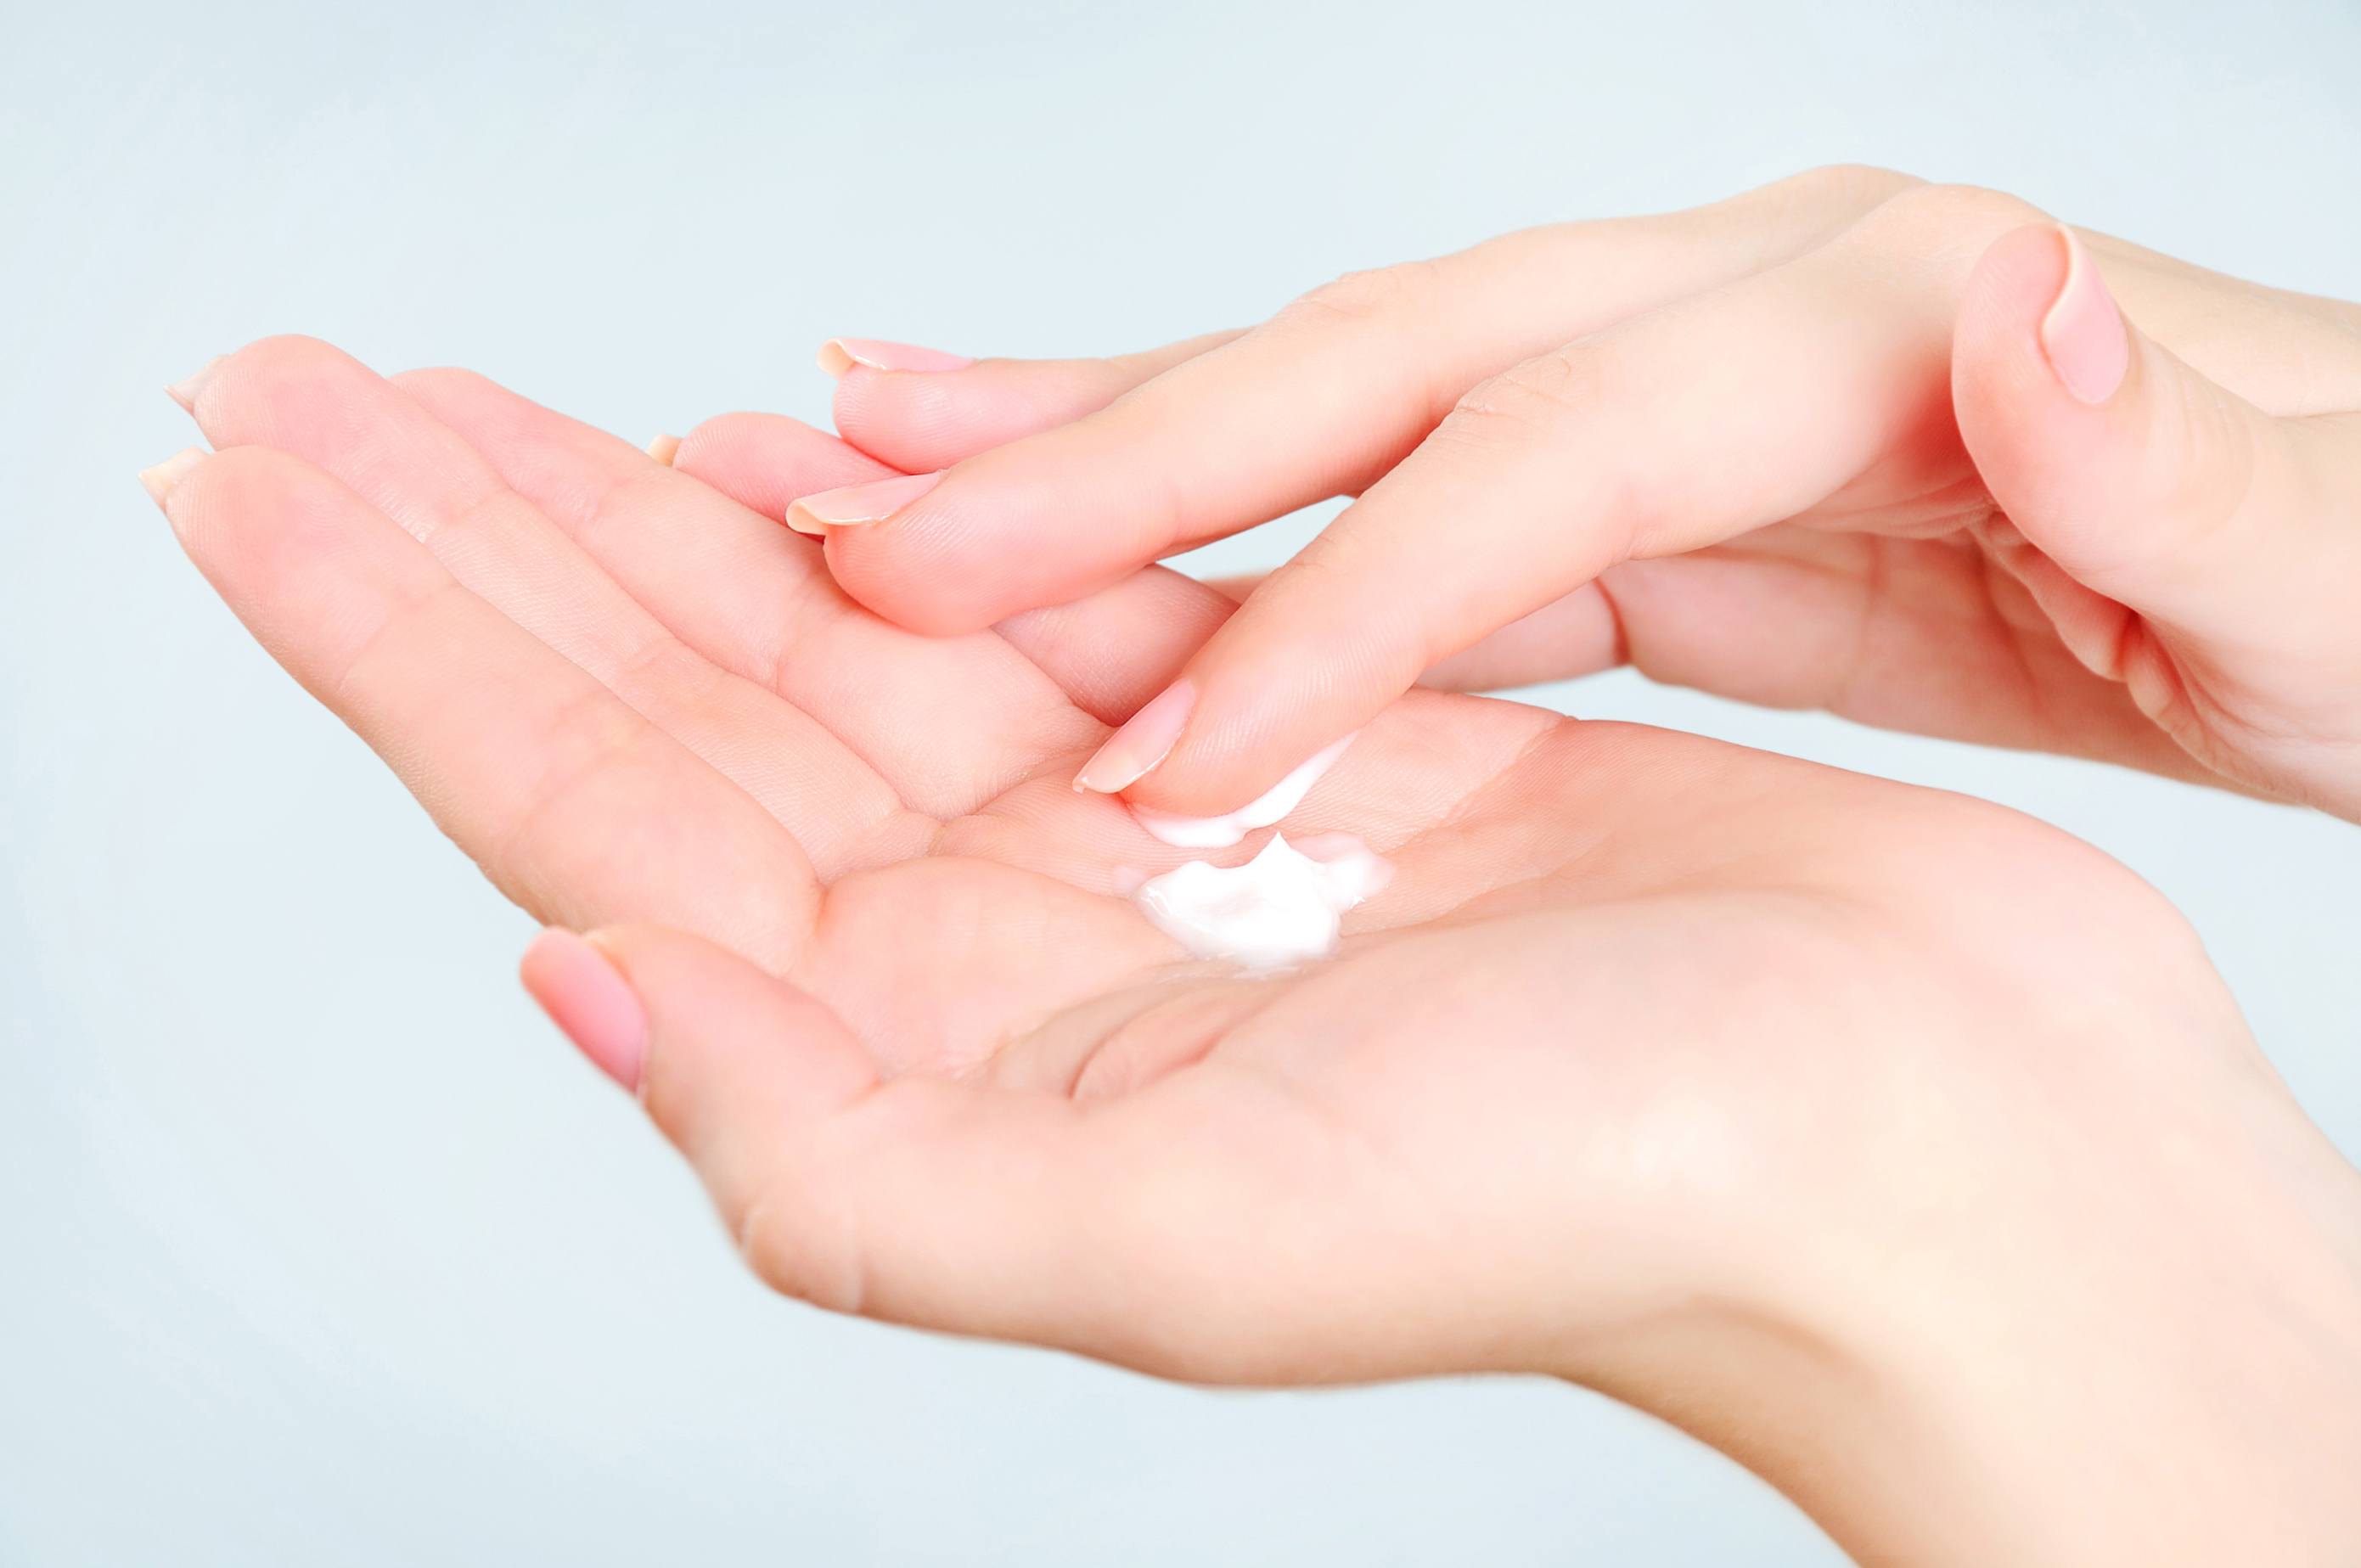
10. Finish off with lotion
This is best done after applying nail varnish. If you have dry skin, use an intensive lotion and keep it on for 30 minutes or longer to allow for absorption. If you’re using the cream before hitting the bed, wear simple cotton gloves and let the lotion work overnight.
Doing a manicure is a great way to de-stress. Just play some music, light some scented candles and do your own manicure to get those enviable talons.
Featured photo credit: Manicure process in beauty salon close up/Africa Studio via shutterstock.com